Easy Brookies (Cookie Brownies) Recipe
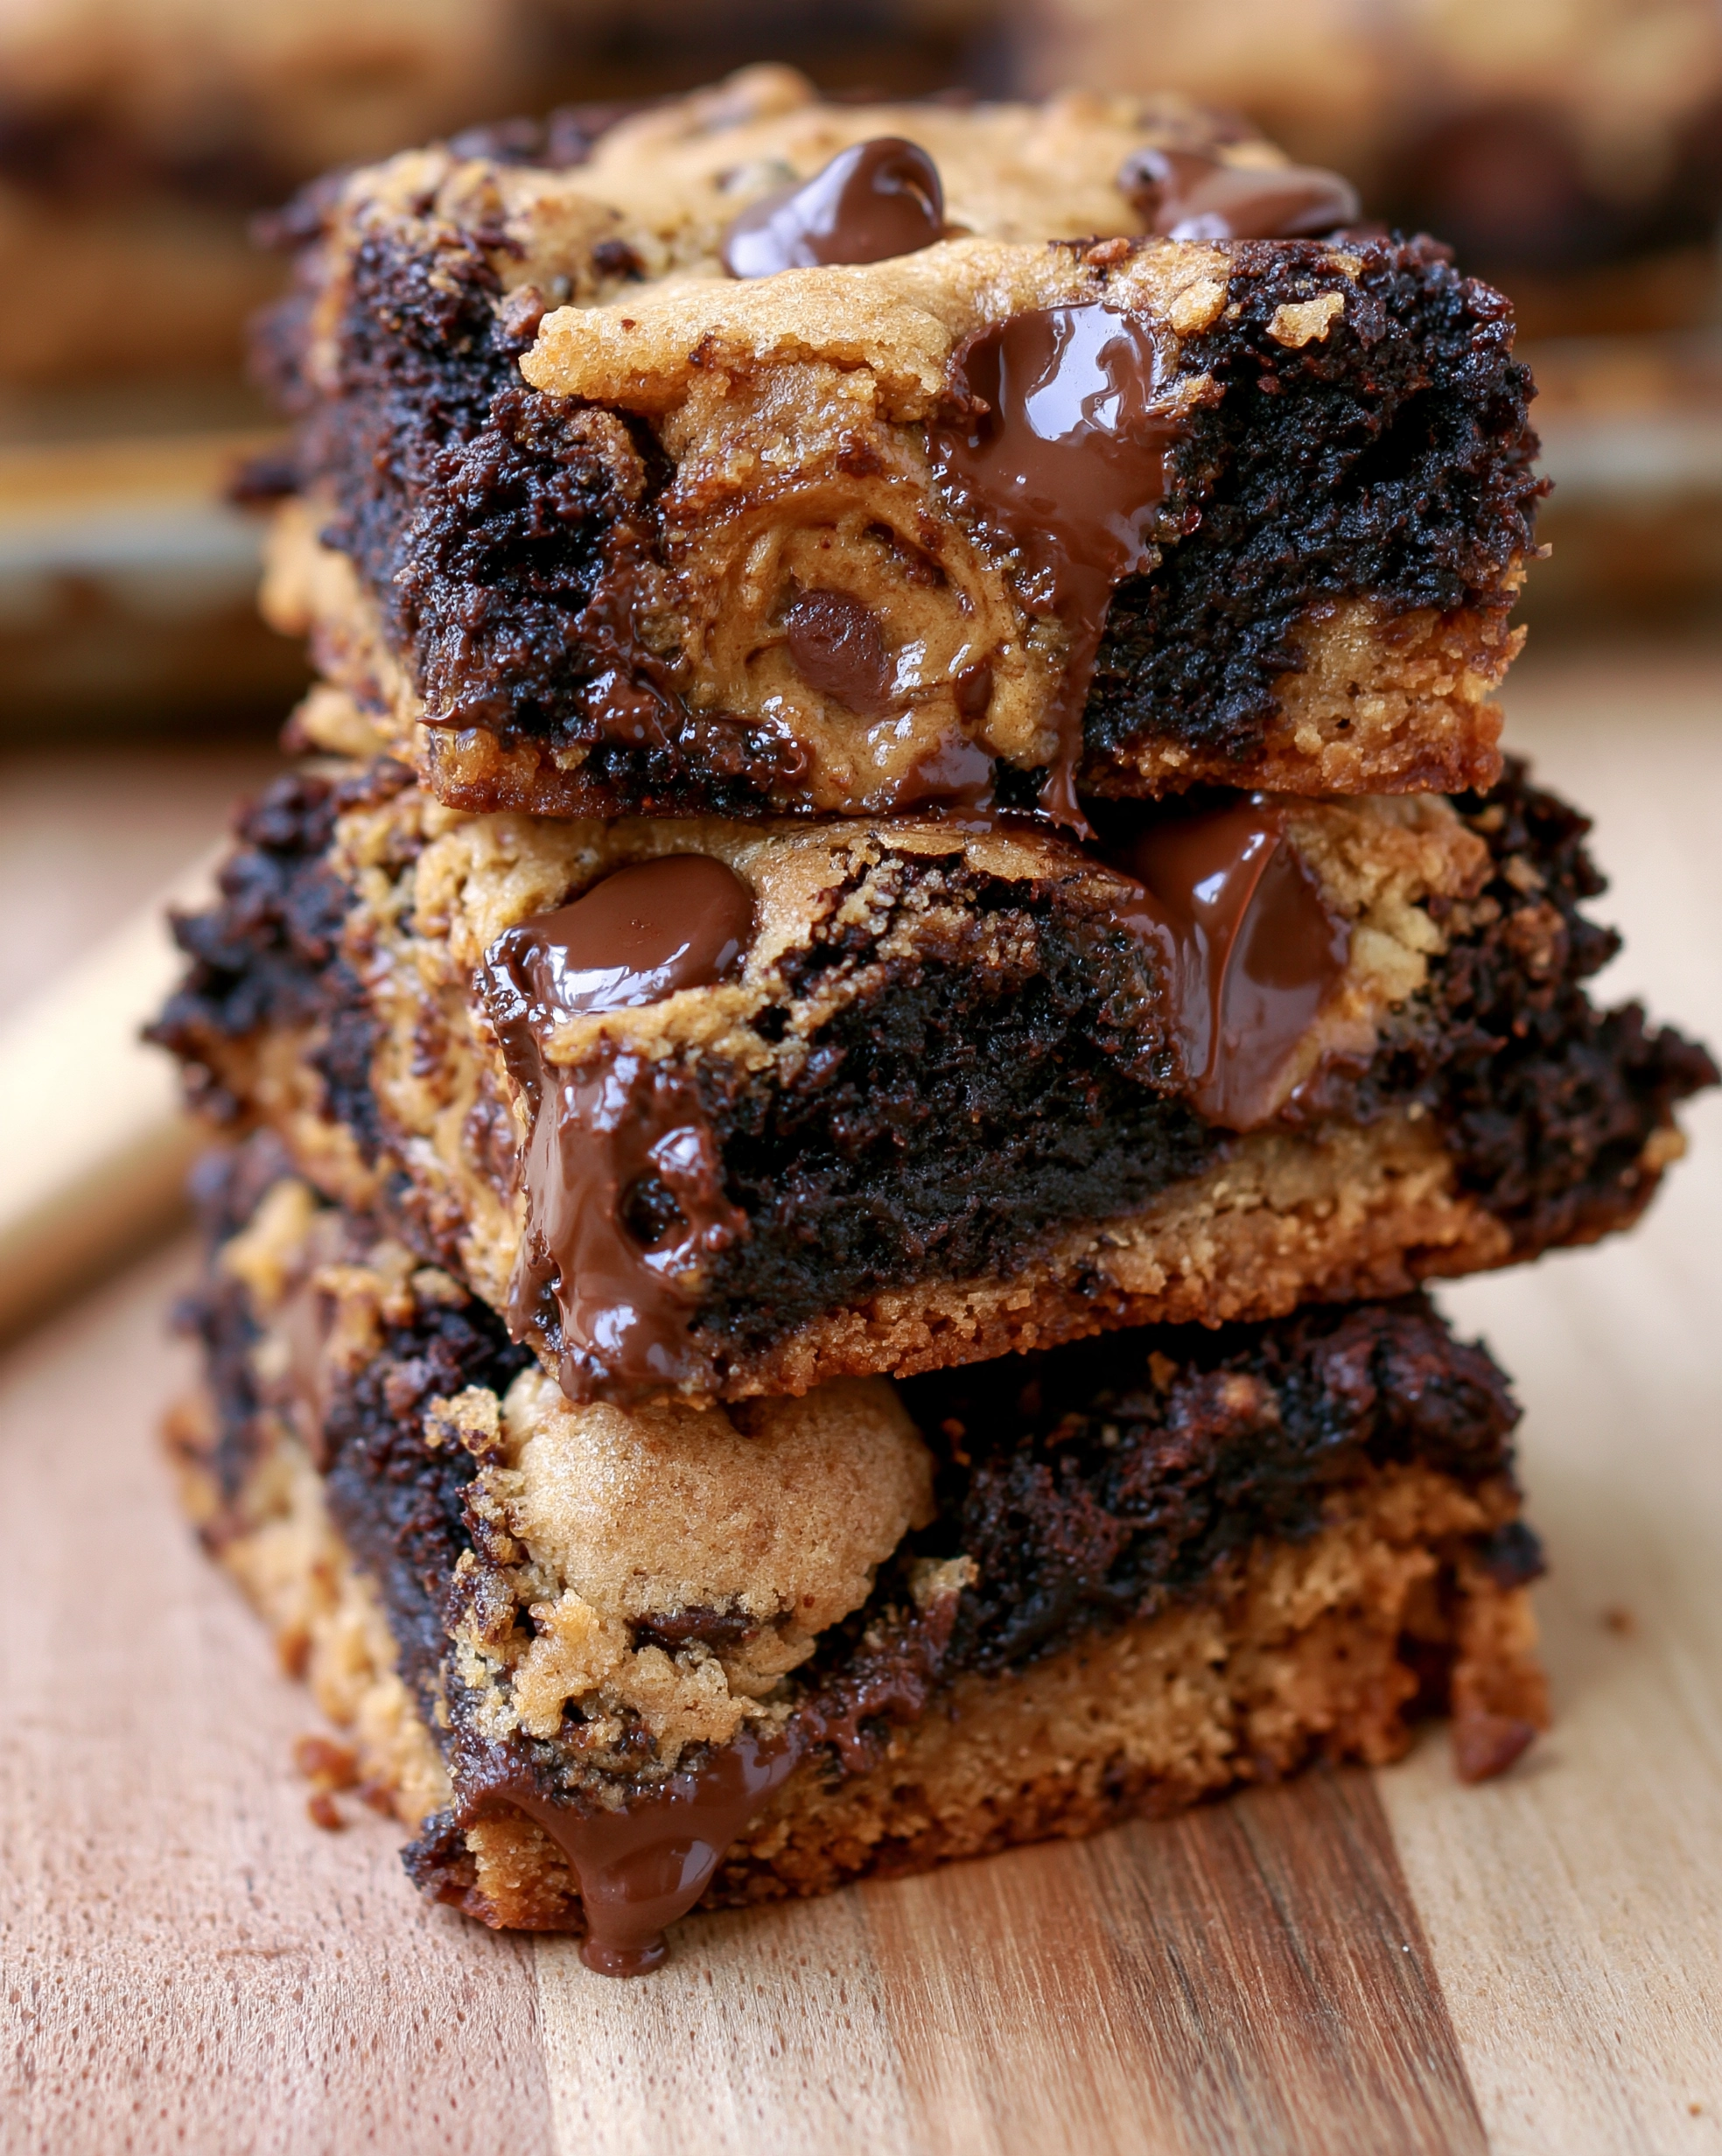
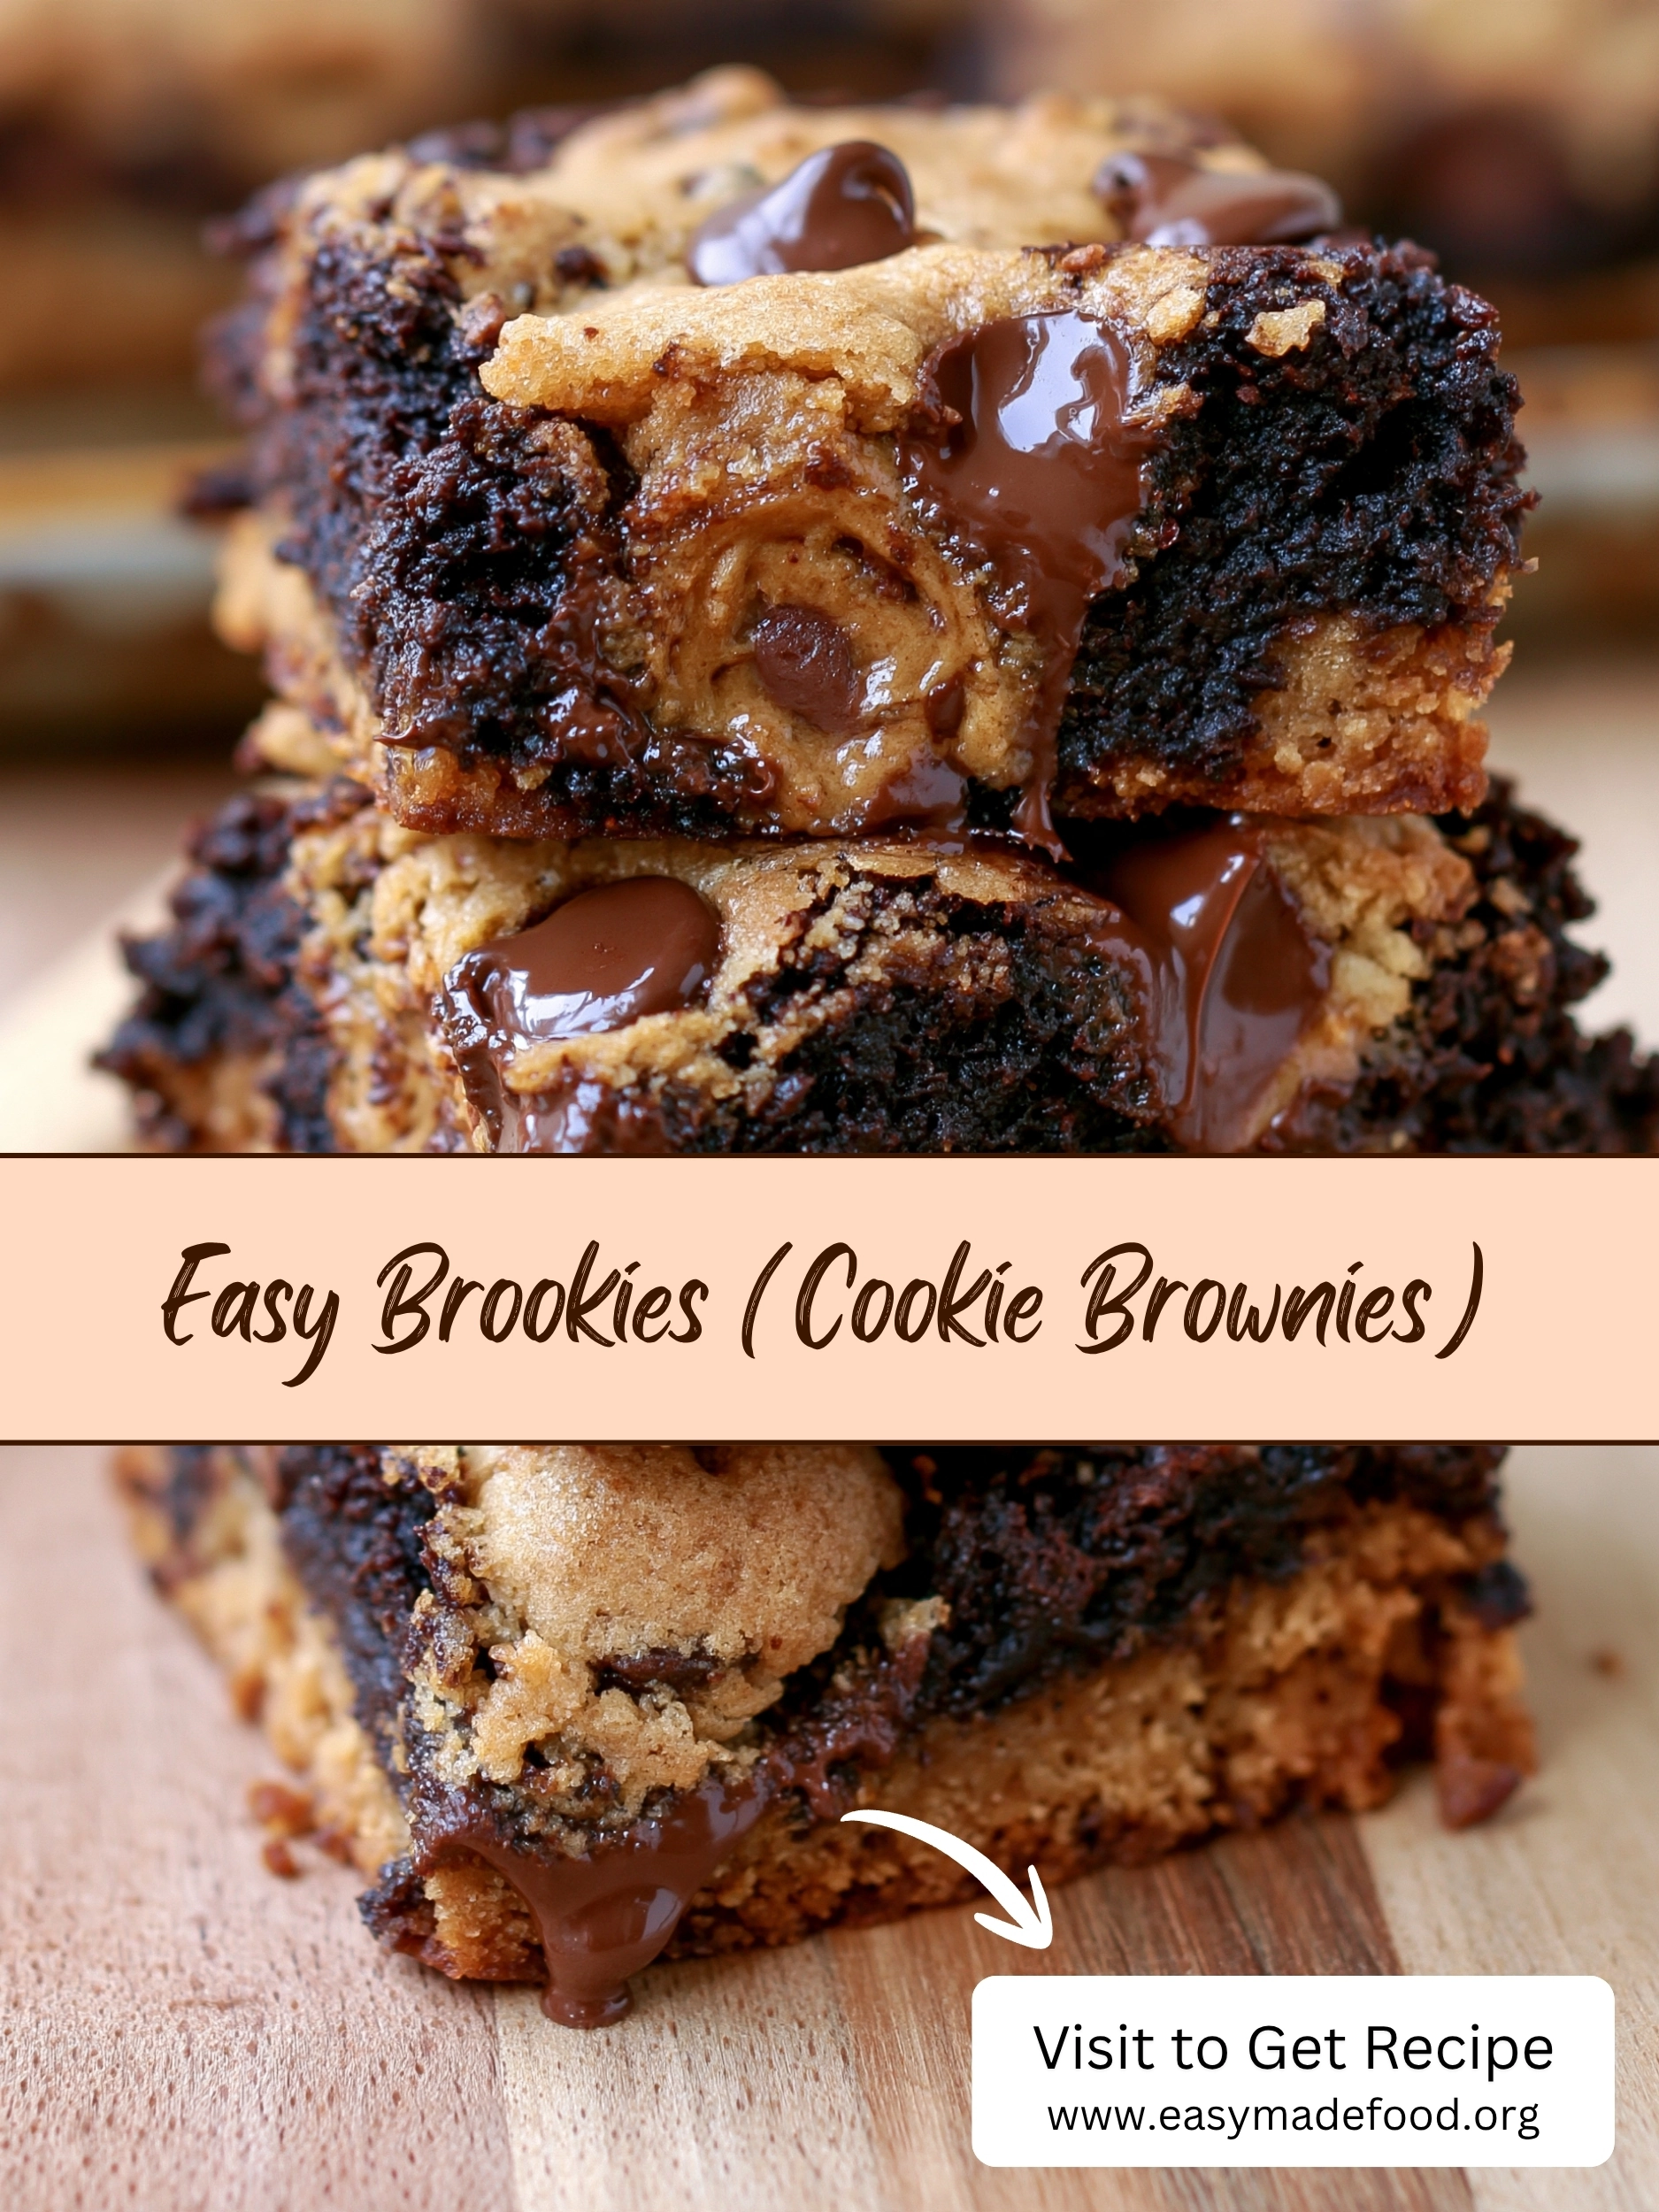
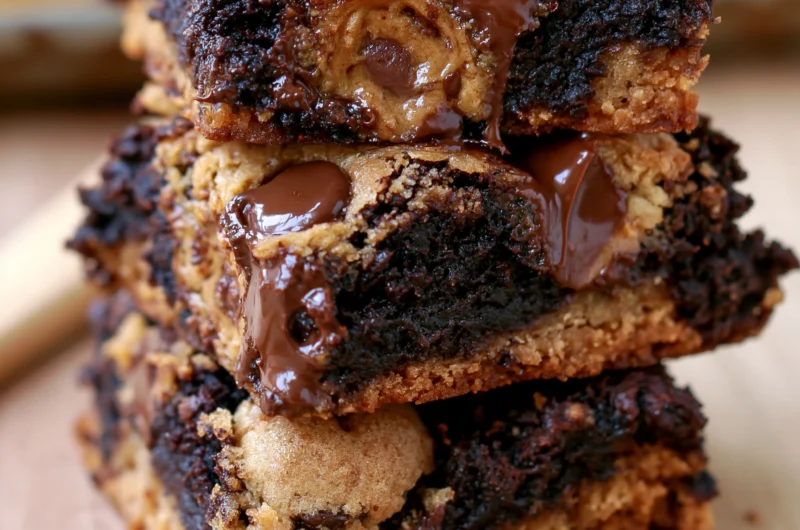
Some desserts make you choose, and this is not one of them. Brookies are what happens when a fudgy brownie and a chocolate chip cookie stop competing and move in together: a golden cookie base, a dark, almost molten brownie layer, and more cookie dough baked right over the top, with chocolate chips melting and dripping down the sides — exactly the stack staring at you in the photo. If you have ever stood in your kitchen unable to decide which one to bake, this brookies recipe is your answer: both, in the same pan, in the same bite.
Everything here is made from scratch, but nothing is hard. The cookie layer is a simple one-bowl dough, and the brownie layer comes together in a saucepan. The trick that makes them look like the photo — those thick bars with the two layers swirled and marbled together — is pressing most of the cookie dough into the bottom, saving the rest in flattened discs for the top, so ribbons of brownie peek through. Bake until the center is just set, slice them thick, and serve one still slightly warm, when the chocolate is glossy and the drip is real.
Why Brookies Beat Baking Two Desserts
- Two favorites, one pan — chewy cookie edges and a fudgy brownie center in every single square. Nobody has to pick a side.
- Thick, bakery-style bars — a 9×9 pan gives you tall, hefty brookies like the ones stacked in the photo, not thin little squares.
- Melty chocolate everywhere — chips in the cookie dough, chunks in the brownie, and extra chips pressed on top so they melt into glossy pools.
- From-scratch, still easy — no mixes, no special equipment. One bowl for the cookie dough, one saucepan for the brownie batter.
- The warm slice is an event — ten seconds in the microwave brings back that just-baked drip down the side of the bar.
The Ingredients (Two Simple Layers)
For the chocolate chip cookie layer:
- 1/2 cup (115 g) unsalted butter, softened to room temperature — soft, not melted; that is what keeps the cookie layer chewy instead of greasy.
- 1/2 cup (100 g) light brown sugar, packed — for chew and that golden cookie color.
- 1/4 cup (50 g) granulated sugar — the pair of sugars gives crisp edges with a soft middle.
- 1 large egg plus 1 egg yolk, at room temperature — the extra yolk is the secret to a rich, chewy cookie layer that holds its own against the brownie.
- 1 1/2 teaspoons vanilla extract.
- 1 1/4 cups (155 g) all-purpose flour — spoon it into the cup and level it off; too much flour makes the cookie layer cakey.
- 1/2 teaspoon baking soda.
- 1/4 teaspoon fine salt.
- 3/4 cup (130 g) semisweet chocolate chips, plus 1/4 cup extra for pressing over the top — those top chips are the ones that melt and drip in the photo.
For the fudgy brownie layer:
- 1/2 cup (115 g) unsalted butter.
- 4 oz (115 g) dark or bittersweet chocolate, roughly chopped — melted chocolate (not just cocoa) is what makes this layer properly dark and fudgy like the photo.
- 3/4 cup (150 g) granulated sugar.
- 1/4 cup (50 g) light brown sugar, packed — a little molasses depth for the brownie.
- 2 large eggs, at room temperature.
- 1 teaspoon vanilla extract.
- 1/2 cup (60 g) all-purpose flour.
- 1/4 cup (25 g) Dutch-process cocoa powder — Dutch cocoa gives the deep, dark color you see in the bars. Natural cocoa works; the color will be a shade lighter.
- 1/4 teaspoon fine salt.
- 1/2 cup (85 g) chocolate chips or chunks — folded through the batter so the brownie layer has its own melty pockets.
How to Make Them: Cookie, Brownie, Cookie Again
- Prep the pan. Preheat your oven to 350°F (175°C). Line a 9×9-inch metal baking pan with parchment paper, leaving an overhang on two sides like a sling. The sling is how you will lift the whole slab out for those clean, thick slices.
- Make the cookie dough. In a large bowl, beat the softened butter with both sugars until creamy and a little fluffy, about 2 minutes. Beat in the egg, egg yolk, and vanilla. Add the flour, baking soda, and salt and mix just until no dry streaks remain, then fold in the 3/4 cup of chocolate chips.
- Press in the cookie base. Scoop about two-thirds of the cookie dough into the prepared pan and press it into an even layer across the bottom with your fingertips or the back of a spoon. Slightly damp fingers stop the sticking. Set the rest of the dough aside — it is going on top.
- Melt the brownie base. In a medium saucepan over low heat (or a microwave-safe bowl in short bursts), melt the butter and chopped chocolate together, stirring until completely smooth and glossy. Take it off the heat and let it cool for about 5 minutes — hot chocolate would scramble the eggs in the next step.
- Finish the brownie batter. Whisk both sugars into the melted chocolate, then the eggs one at a time, then the vanilla, whisking until the batter looks thick and shiny. Fold in the flour, cocoa powder, and salt just until combined — a few small streaks are fine, overmixing makes brownies cakey. Fold in the chocolate chips.
- Spread the brownie layer. Pour the brownie batter over the cookie base and spread it gently to the edges with a spatula. You now have the dark middle layer from the photo.
- Top with cookie dough discs. Take the reserved cookie dough and flatten small handfuls between your palms into thin discs, about 1/4 inch thick. Lay them over the brownie batter in a patchwork, covering most of the top but letting ribbons of brownie peek through — those gaps are what create the marbled, swirled look as it bakes.
- Add the drip factor. Scatter the extra 1/4 cup of chocolate chips over the top and press them in lightly. These are the chips that melt into glossy puddles on the finished bars.
- Bake — and do not overbake. Bake for 30 to 35 minutes, until the cookie tops are golden, the edges look set and slightly puffed, and a toothpick pushed into the center comes out with moist, fudgy crumbs (not wet batter, not clean). The center should still have the faintest wobble when you nudge the pan.
- Cool, slice thick, serve. Cool in the pan for at least 30 minutes. Warm bars slice soft and gooey — the photo moment — while fully cooled bars cut into neat, clean squares. Lift the slab out with the parchment sling and cut into 12 thick bars.
Sofia’s Expert Tips (Fudgy Centers, Clean Layers)
- Underbake by a hair, on purpose. Brookies keep cooking from the pan’s residual heat as they cool. If the toothpick comes out clean in the oven, the brownie layer will be dry by serving time. Moist crumbs clinging to the toothpick is your finish line.
- Flatten the top dough thin. Thick lumps of cookie dough on top stay raw in the middle while the edges overbake. Thin discs, about 1/4 inch, spread and bake evenly and melt into that patchwork finish in the photo.
- Room-temperature eggs matter. Cold eggs can seize melted chocolate into grainy lumps and make the cookie dough stiff and hard to press. Twenty minutes on the counter while you measure everything else is all it takes.
- Metal pan beats glass here. Glass holds heat longer and keeps cooking the edges after the pan comes out, which can dry the outer bars. If glass is all you have, pull the brookies out 3 to 4 minutes earlier.
- Warm knife, clean cuts. For picture-perfect slices, let the slab cool completely, then run a large knife under hot water, wipe it dry, and cut in confident strokes, wiping between cuts. For the gooey drip instead, skip the wait and serve warm — both are correct, they are just different desserts.
- Salt is doing quiet work. That 1/4 teaspoon in each layer is what keeps a bar this chocolatey from tasting one-note sweet. A pinch of flaky sea salt over the warm top is optional but very, very good.
Easy Variations Worth Trying
- Peanut butter swirl: drop spoonfuls of creamy peanut butter (about 1/3 cup) over the brownie batter and drag a knife through once or twice before adding the cookie discs. Use peanut butter chips in the cookie dough to finish the theme.
- Salted caramel brookies: fold 1/2 cup of caramel bits into the brownie batter and finish the warm bars with a drizzle of caramel sauce and flaky salt.
- Double chunk: swap the chips in both layers for roughly chopped chocolate bars. Chunks melt into bigger, uneven pools — closer to a bakery bar, and very dramatic on the drip front.
- Brookie cups: press cookie dough into a greased muffin tin, add a spoonful of brownie batter and a small disc of dough on top, and bake 18 to 20 minutes. Perfect portioned treats for lunchboxes and bake sales.
How to Store, Freeze and Reheat Them
- Counter: keep the bars in an airtight container at room temperature for up to 4 days. A slice of plain bread tucked into the container keeps them soft — an old baker’s trick that really works.
- Fridge: they will keep up to a week refrigerated, and the brownie layer turns dense and truffle-like when cold. Some people (me) think this is the best way to eat them.
- Reheat for the drip: 10 to 15 seconds in the microwave per bar brings back the warm, melty chocolate from the photo. A scoop of vanilla ice cream on top is strongly encouraged.
- Freezer: wrap individual bars tightly and freeze for up to 3 months. Thaw at room temperature for about an hour, or microwave from frozen in short bursts until just warm.
FAQs
A little gooey is correct — that is the fudgy brownie layer doing its job. But if the center is wet and raw-tasting, the pan was likely glass (which bakes slower in the center), the bars were cut too soon, or the oven runs cool. Give them the full 35 minutes, let them cool at least 30 minutes so the center finishes setting, and check with a toothpick: you want moist crumbs, not shiny wet batter.
Yes, and it is a fair shortcut on a busy day. Prepare one standard box of brownie mix exactly as the package directs, spread it over the cookie base, and keep everything else the same. The from-scratch layer in this recipe is darker and fudgier, but the boxed version still gives you the two-layer look and plenty of melty chocolate.
A 9×9-inch pan is the sweet spot for the thick, stackable bars in the photo. An 8×8 pan works but the layers get very tall — add about 5 minutes and watch the center closely. A 9×13 pan makes a thinner bar (still delicious); drop the bake time to about 25 minutes so they do not dry out.
Patience and a hot knife. Cool the slab completely — even chill it for 30 minutes — then lift it out with the parchment sling, and cut with a large knife run under hot water and wiped dry between cuts. The gooey, dripping look in the photo comes from slicing warm; neat bakery edges come from slicing cold. Choose your moment.
Not for the first few days — room temperature in an airtight container keeps the cookie layer at its chewy best. Refrigerate them if your kitchen is very warm or if you are keeping them beyond 4 days. Either way, a few seconds in the microwave before eating brings back the fresh-baked texture.
Easy Brookies (Cookie Brownies) Recipe
Course: DessertsCuisine: AmericanDifficulty: Easy12
servings20
minutes35
minutesThick, fudgy brookies with a chocolate chip cookie base, a dark brownie layer, and cookie dough baked over the top — chocolate chips melting through every layer. Two favorite desserts in one pan, made fully from scratch.
Ingredients
- COOKIE LAYER
½ cup (115 g) unsalted butter, softened
½ cup (100 g) light brown sugar, packed
¼ cup (50 g) granulated sugar
1 large egg plus 1 egg yolk, room temperature
1½ tsp vanilla extract
1¼ cups (155 g) all-purpose flour
½ tsp baking soda
¼ tsp fine salt
¾ cup (130 g) semisweet chocolate chips, plus ¼ cup extra for the top
- BROWNIE LAYER
½ cup (115 g) unsalted butter
4 oz (115 g) dark or bittersweet chocolate, chopped
¾ cup (150 g) granulated sugar
¼ cup (50 g) light brown sugar, packed
2 large eggs, room temperature
1 tsp vanilla extract
½ cup (60 g) all-purpose flour
¼ cup (25 g) Dutch-process cocoa powder
¼ tsp fine salt
½ cup (85 g) chocolate chips or chunks
Directions
- Preheat oven to 350°F (175°C); line a 9×9-inch metal pan with a parchment sling.
- Beat butter and both sugars until creamy; beat in egg, yolk and vanilla; mix in flour, baking soda and salt; fold in ¾ cup chips.
- Press two-thirds of the dough into the pan as the base.
- Melt butter and chopped chocolate until smooth; cool 5 minutes.
- Whisk in both sugars, eggs one at a time, vanilla; fold in flour, cocoa and salt; fold in chips.
- Spread brownie batter over the cookie base.
- Flatten remaining dough into thin discs; lay over the top, letting brownie peek through.
- Scatter extra ¼ cup chips on top; press lightly.
- Bake 30–35 minutes until golden and set at the edges; toothpick in center shows moist crumbs.
- Cool at least 30 minutes; lift out with the sling; cut into 12 thick bars.
Notes
- Press two-thirds of the cookie dough into the base and flatten the rest into thin discs for the top, leaving brownie peeking through for the marbled look. Pull the pan when a toothpick in the center shows moist crumbs — the brownie layer finishes setting as it cools. Cool 30 minutes for gooey slices, or completely for clean cuts.
Save this recipe for the next time you cannot decide between cookies and brownies — with a pan of these in the oven, you never have to choose again.
More recipes you’ll love: Fudgy Brownies, Sweet Potato Brownies and Peanut Butter Pie.