
Easy Bread for Beginners Recipe
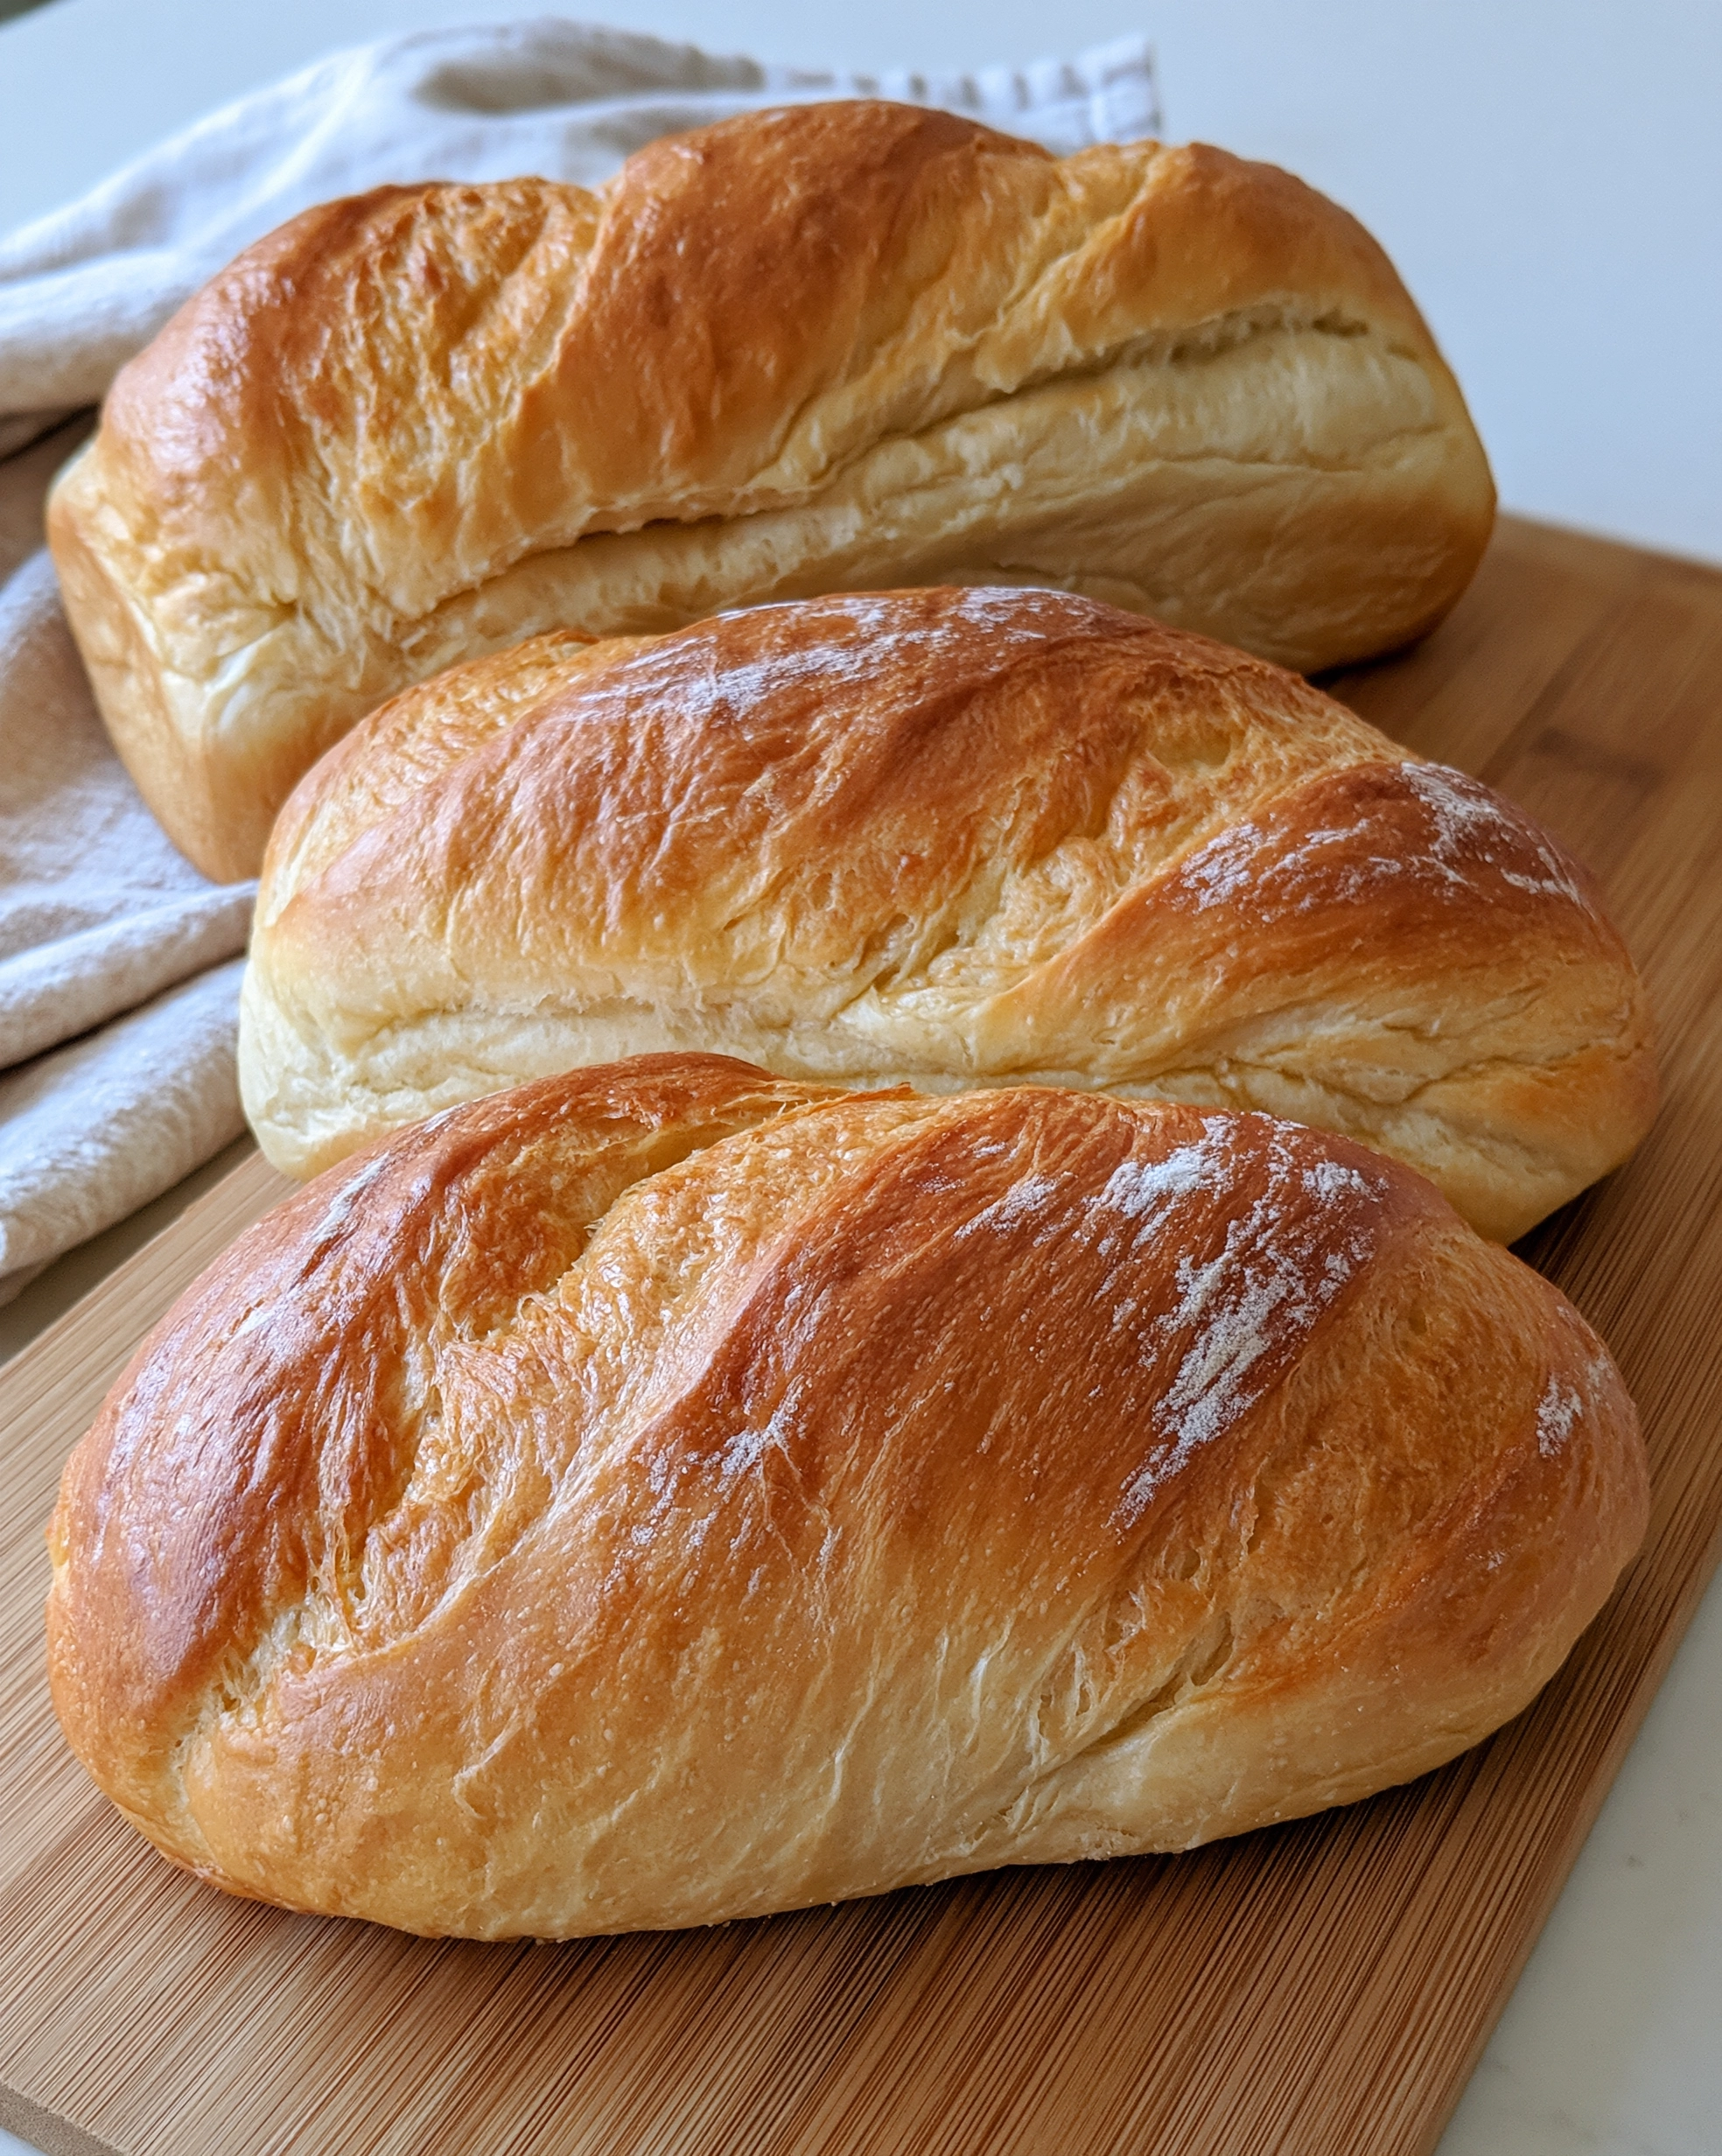
Think homemade bread is only for experienced bakers? Think again. If you can stir flour and water together in a bowl, you can bake this bread — a soft, golden loaf with a tender inside and that warm, fresh-from-the-oven smell that fills the whole house.
Here is the honest truth most beginner bakers never hear: bread is not hard, it just needs a little patience while the yeast does the work for you. This recipe uses only 6 simple pantry ingredients, one loaf pan, and zero special skills. Your only real jobs are kneading for a few minutes and not cutting the loaf the second it leaves the oven (the hardest part, honestly).
Why This Is the Only Beginner Loaf You Need to Learn First
- Only 6 ingredients — flour, water, yeast, sugar, salt, butter. Nothing strange, nothing expensive.
- No bread machine, no stand mixer — your hands and one bowl are all the equipment you need.
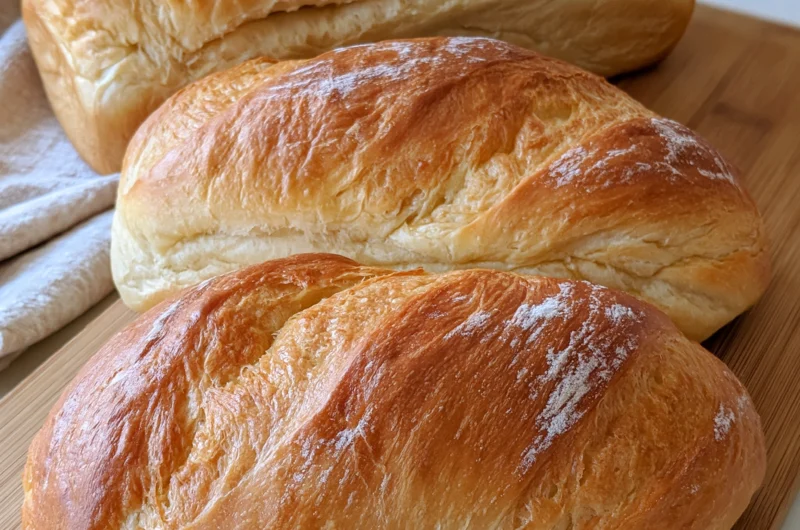
- A soft, glossy golden crust — a brush of melted butter at the end gives you that beautiful shiny bakery-style top, just like the photo.
- Beginner-proof steps — every step tells you exactly what the dough should look and feel like, so you never have to guess.
- One recipe, endless uses — sandwiches, toast, garlic bread, soup-dunking. This loaf does it all.
The 6 Ingredients (and the One Temperature That Matters Most)
- 1 1/2 cups (360 ml) warm water — about 110°F (45°C). It should feel like warm bath water on your wrist. Too hot kills the yeast; too cold and it barely wakes up.
- 2 1/4 teaspoons active dry yeast (1 packet / 7 g) — check the date on the packet; old yeast is the number one reason bread fails.
- 2 tablespoons granulated sugar — just enough to feed the yeast and give the crust its golden color. The bread will not taste sweet.
- 3 1/2 cups (440 g) all-purpose flour, plus a little extra for dusting — bread flour works too and gives a slightly chewier loaf.
- 1 1/2 teaspoons fine salt — do not skip it. Without salt, bread tastes flat and the dough gets slack and sticky.
- 2 tablespoons unsalted butter, melted, plus 1 tablespoon melted butter for brushing the top — the final brush is what makes the crust soft and shiny like the loaves in the photo.
How to Make It: 7 Simple Steps From Bowl to Golden Loaf
- Wake up the yeast (5–10 minutes). Stir the sugar into the warm water in a large bowl. Sprinkle the yeast over the top and let it sit until it turns foamy and bubbly, like the head on a soda. No foam after 10 minutes? Your yeast is dead or the water was too hot — start over with a fresh packet. This one check saves the whole loaf.
- Mix the dough (2 minutes). Add the flour, salt, and melted butter to the bowl. Stir with a sturdy spoon until a rough, shaggy dough forms and no dry flour remains at the bottom.
- Knead until smooth (8–10 minutes). Turn the dough onto a lightly floured surface. Push it away with the heels of your hands, fold it back, turn, and repeat. It starts sticky — resist adding lots of extra flour, just dust your hands. The dough is ready when it feels smooth and elastic and springs back when you poke it. (A stand mixer with a dough hook does this in 5–6 minutes.)
- First rise (about 1 hour). Place the dough in a lightly greased bowl, turning it once so the top is greased too. Cover with a damp towel or plastic wrap and leave in a warm, draft-free spot until doubled in size — poke it and the dent should stay.
- Shape the loaf (5 minutes). Tip the dough onto a floured surface and press it into a rough rectangle, about as wide as your pan. Roll it up tightly from the short end, pinch the seam and ends closed, and place it seam-side down in a greased 9×5-inch loaf pan. Shaping it tightly like this is what gives you that tall, proud dome in the photo.
- Second rise, then bake (30–40 minutes + 30 minutes). Cover the pan and let the dough rise again until it crowns about 1 inch above the rim of the pan. Meanwhile, preheat your oven to 350°F (175°C). Bake for 28–32 minutes, until the top is a deep, glossy golden brown and the loaf sounds hollow when you tap the bottom. If you have a thermometer, the center should read 190–200°F (88–93°C).
- Butter it, then wait (at least 30 minutes). Brush the hot top with the remaining melted butter — this keeps the crust soft and gives it that beautiful shine. Cool in the pan for 10 minutes, then turn the loaf onto a wire rack. Wait at least 30 minutes before slicing; the inside is still finishing as it cools, and cutting too early makes it gummy.
Sofia’s Expert Tips (Read These Before Your First Loaf)
- Respect the water temperature. Between 105–115°F (40–46°C) is the sweet spot. If the water feels hot on your wrist, it is too hot for the yeast. When in doubt, use a kitchen thermometer — it is a beginner’s best friend.
- Measure flour the right way. Spoon flour into the cup and level it off with a knife. Scooping straight from the bag can pack in 1/2 cup extra flour, and too much flour is the fastest route to a dense, heavy loaf. The dough should feel slightly tacky, not dry.
- Find a warm rising spot. A cold kitchen can double your rise time. My favorite trick: put the covered bowl in the oven with the oven OFF and the light ON. The gentle warmth is perfect.
- Do the windowpane test. Stretch a small piece of kneaded dough between your fingers. If you can stretch it thin enough to almost see light through it without it tearing, you have kneaded enough.
- Tape the time to the bowl. First loaves fail more from forgotten dough than from bad technique. Set a timer for the rises and you will never over-proof by accident.
- Brush with butter, every time. It takes 10 seconds, keeps the crust soft instead of crackly-hard, and gives you that glossy golden finish that makes people ask which bakery it came from.
Easy Variations Once You Have Nailed the Basic Loaf
- Garlic herb bread: add 1 teaspoon garlic powder and 1 tablespoon Italian seasoning to the flour. Incredible with pasta and soups.
- Half whole wheat: swap 1 cup of the all-purpose flour for whole wheat flour. Slightly nuttier, still soft, and a little more fiber.
- Cinnamon swirl: after pressing the dough into a rectangle, sprinkle it with 1/4 cup sugar mixed with 2 teaspoons cinnamon, then roll up and bake the same way. Breakfast toast will never be the same.
- Free-form oval loaf: skip the pan and shape the dough into a smooth oval on a parchment-lined baking sheet, like the front loaf in the photo. Same second rise, same bake — just check it 3–4 minutes earlier.
- Dinner rolls: divide the dough into 12 balls, place in a greased 9×13-inch pan, rise until puffy, and bake 18–20 minutes.
How to Store, Freeze and Reheat Your Loaf
- Room temperature: once fully cool, keep the loaf in a sealed bag or bread box for 3–4 days. Store it cut-side down on a board for the first day if you like — it keeps the crumb from drying out.
- Skip the fridge: refrigerating bread actually makes it go stale faster. The counter or the freezer are both better choices.
- Freezer: wrap the whole cooled loaf tightly in plastic wrap and then foil, or freeze individual slices in a freezer bag. Keeps well for up to 3 months.
- Reheat: warm slices straight from frozen in the toaster. For a whole or half loaf, thaw at room temperature, then crisp it in a 300°F (150°C) oven for 8–10 minutes — it tastes freshly baked again.
Frequently Asked Questions
The usual culprits are dead yeast, water that was too hot (over 120°F / 49°C kills yeast), or a very cold kitchen. Check the packet date, measure your water temperature, and let the dough rise somewhere warm. If the yeast never foamed in step 1, that batch will not rise — it is better to restart there than to bake a flat loaf.
Yes — use the exact same amount, 2 1/4 teaspoons. Mix it straight into the flour and skip the foaming step; just make sure your water is still warm. The rises may be a little faster, so start checking about 10 minutes early.
Look for three signs: the crust is deep golden brown, the loaf sounds hollow when you tap its bottom, and — most reliable of all — the center reads 190–200°F (88–93°C) on an instant-read thermometer. If the top browns too fast, tent it loosely with foil for the last 10 minutes.
Almost always too much flour, too little kneading, or a rise that was cut short. Measure flour by spooning and leveling, knead the full 8–10 minutes, and let the dough truly double — in a cool kitchen that can take 90 minutes, and that patience is worth it.
Absolutely. Shape the dough into a tight oval and bake it on a parchment-lined baking sheet, just like the front loaf in the photo. It will spread a touch more and bake a few minutes faster, so start checking at 25 minutes.
Easy Bread for Beginners Recipe
Course: Breakfast, BreadCuisine: AmericanDifficulty: Easy12
slices20
minutes30
minutes2
hours20
minutesA soft, golden homemade white bread made with just 6 simple pantry ingredients. No bread machine and no experience needed — fluffy slices for sandwiches and toast, with a shiny butter-brushed crust.
Ingredients
1 1/2 cups (360 ml) warm water, about 110°F (45°C)
2 1/4 teaspoons active dry yeast (1 packet / 7 g)
2 tablespoons granulated sugar
3 1/2 cups (440 g) all-purpose flour, plus extra for dusting
1 1/2 teaspoons fine salt
2 tablespoons unsalted butter, melted, plus 1 tablespoon melted butter for brushing
Directions
- Stir sugar into the warm water, sprinkle yeast on top, and let sit 5–10 minutes until foamy.
- Add flour, salt, and melted butter; stir into a shaggy dough.
- Knead on a floured surface 8–10 minutes until smooth and elastic.
- Place in a greased bowl, cover, and rise about 1 hour, until doubled.
- Press into a rectangle, roll up tightly, and place seam-side down in a greased 9×5-inch loaf pan.
- Rise 30–40 minutes until crowned above the pan. Bake at 350°F (175°C) for 28–32 minutes, until deep golden and hollow-sounding (190–200°F inside).
- Brush the hot top with melted butter, cool 10 minutes in the pan, then on a rack at least 30 minutes before slicing.
Notes
- Total time includes about 1 hour 30 minutes of rising time. If the yeast does not foam in step 1, start over with fresh yeast. Spoon and level flour — too much flour makes dense bread. Store at room temperature 3–4 days or freeze up to 3 months. Instant yeast can replace active dry in the same amount; skip the foaming step.
Save this recipe now, because the day you pull your own golden loaf out of the oven is the day
store-bought bread starts tasting very, very ordinary.
More recipes you’ll love: Easy Sourdough Bread Recipe, Easy Focaccia Bread Recipe and Easy Garlic Bread Recipe.




3 Comments