
Easy Focaccia Bread Recipe
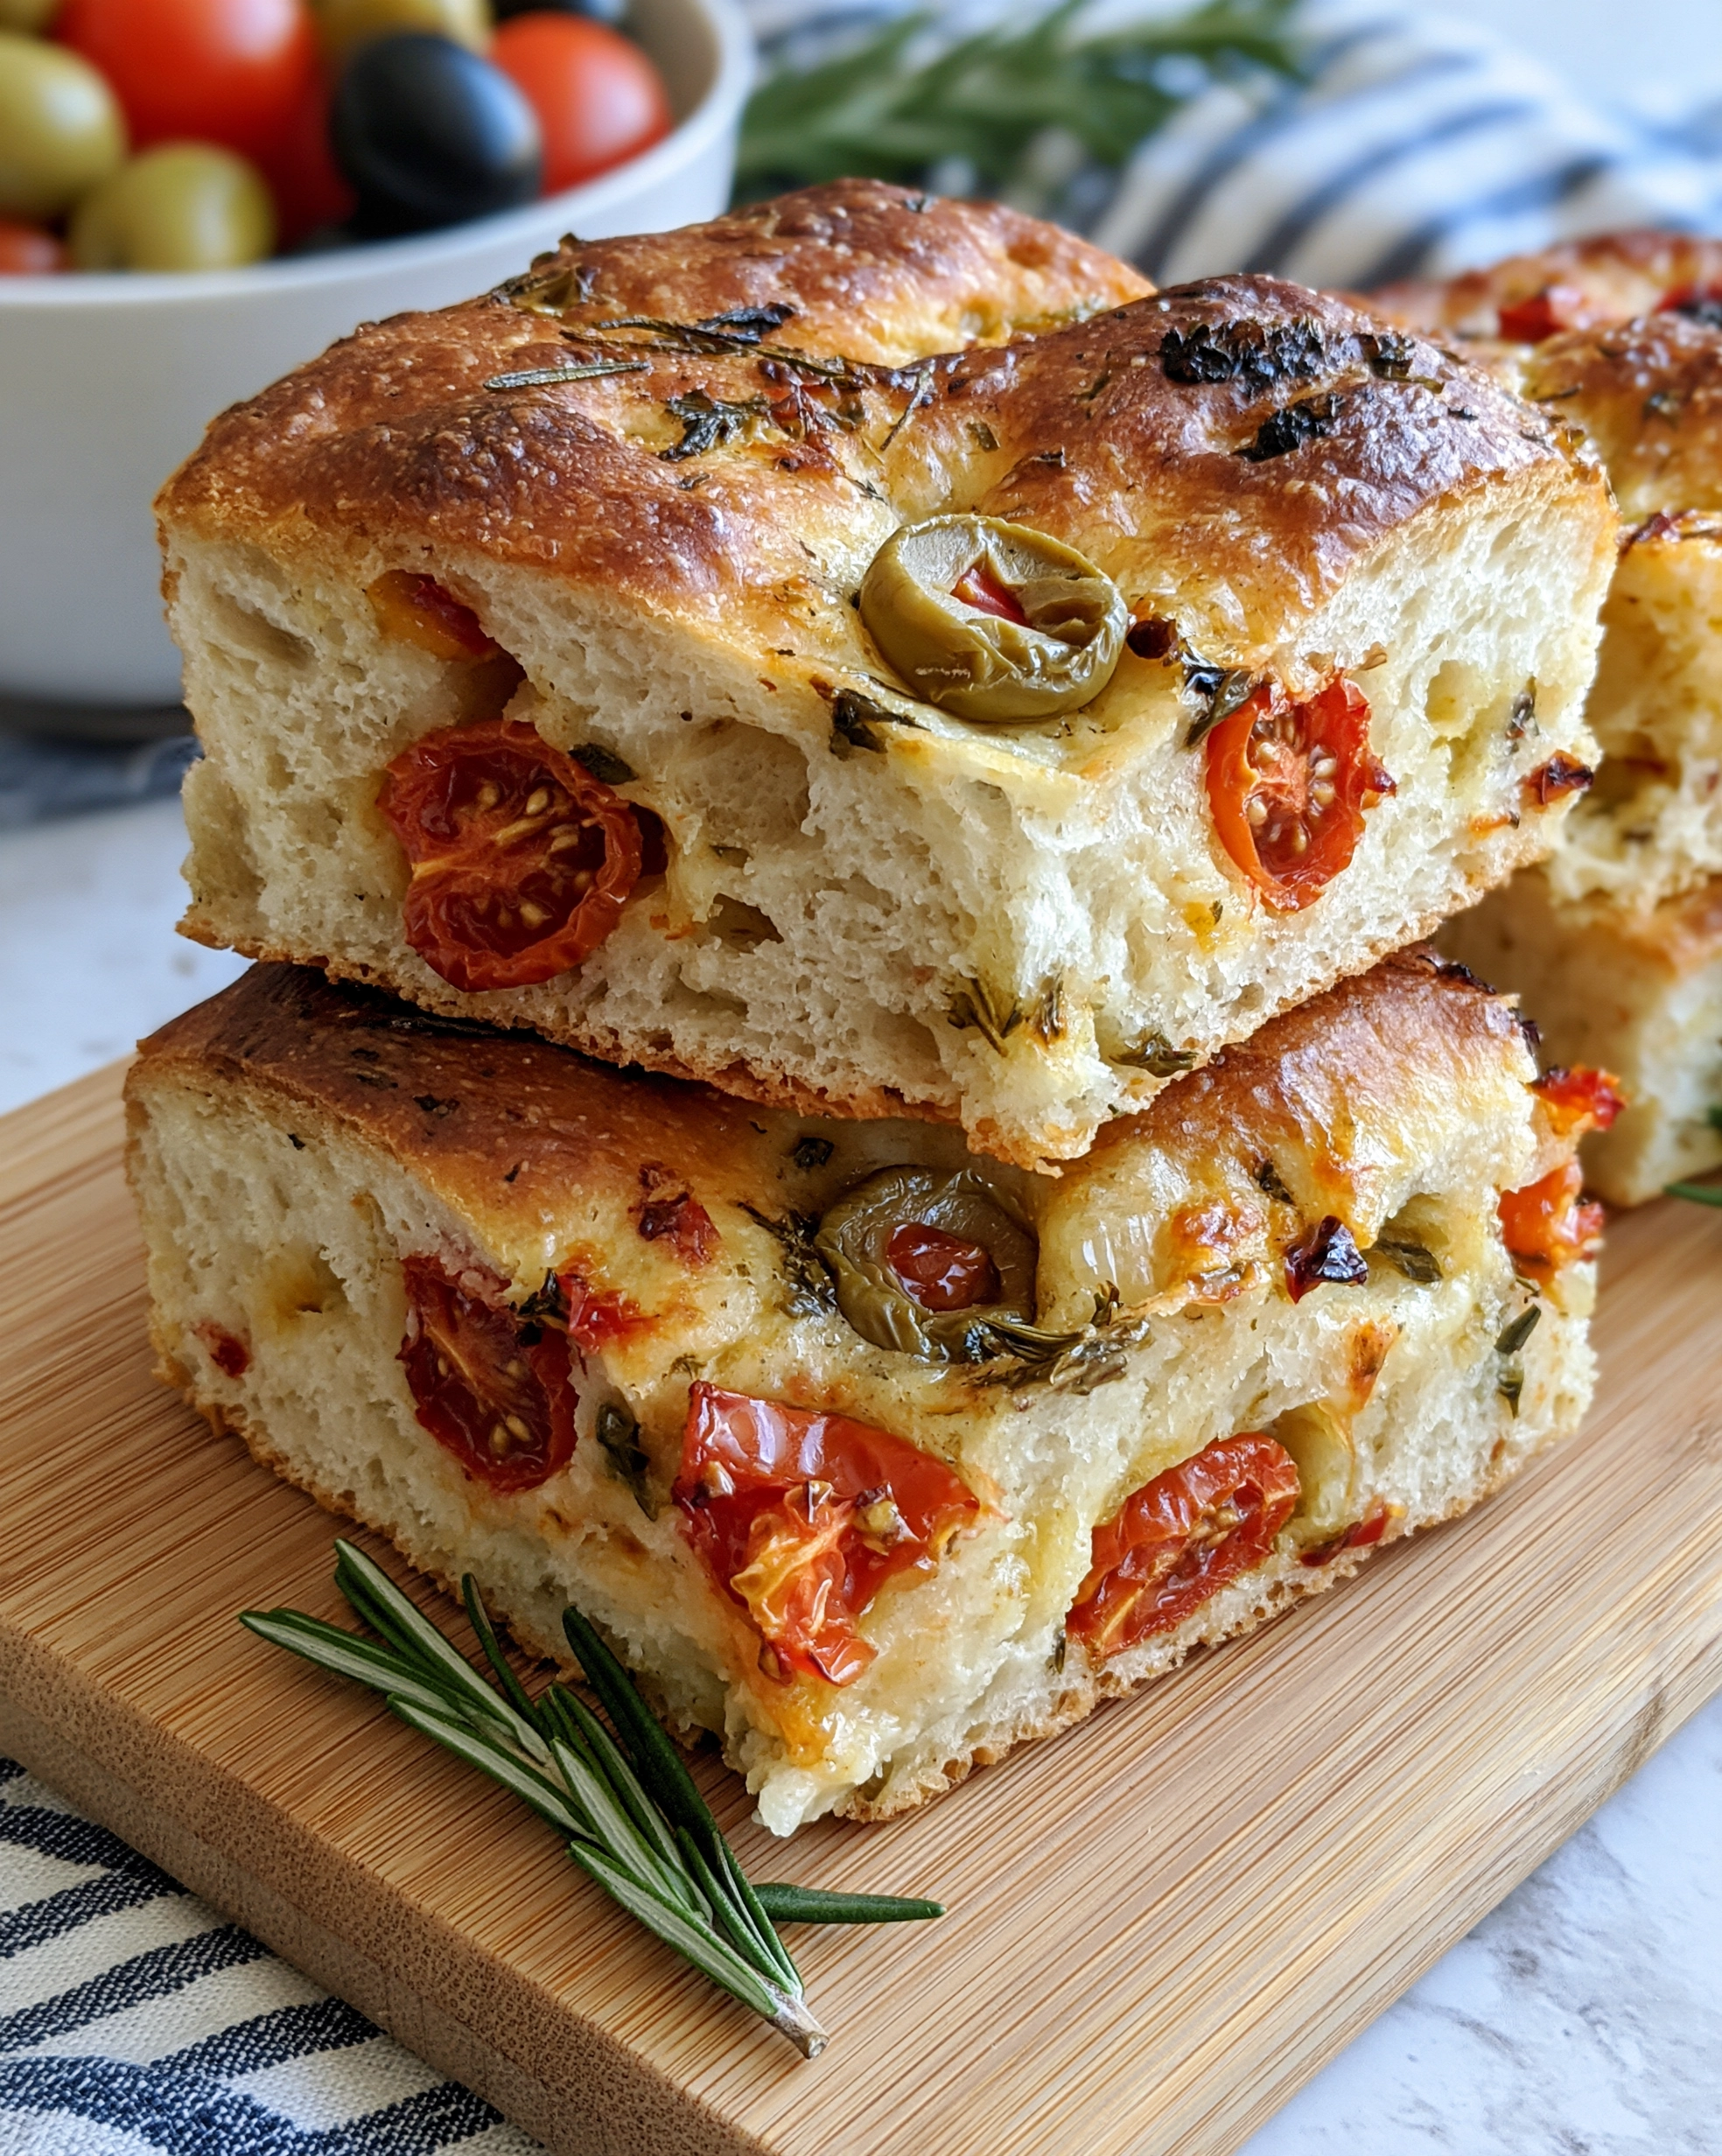
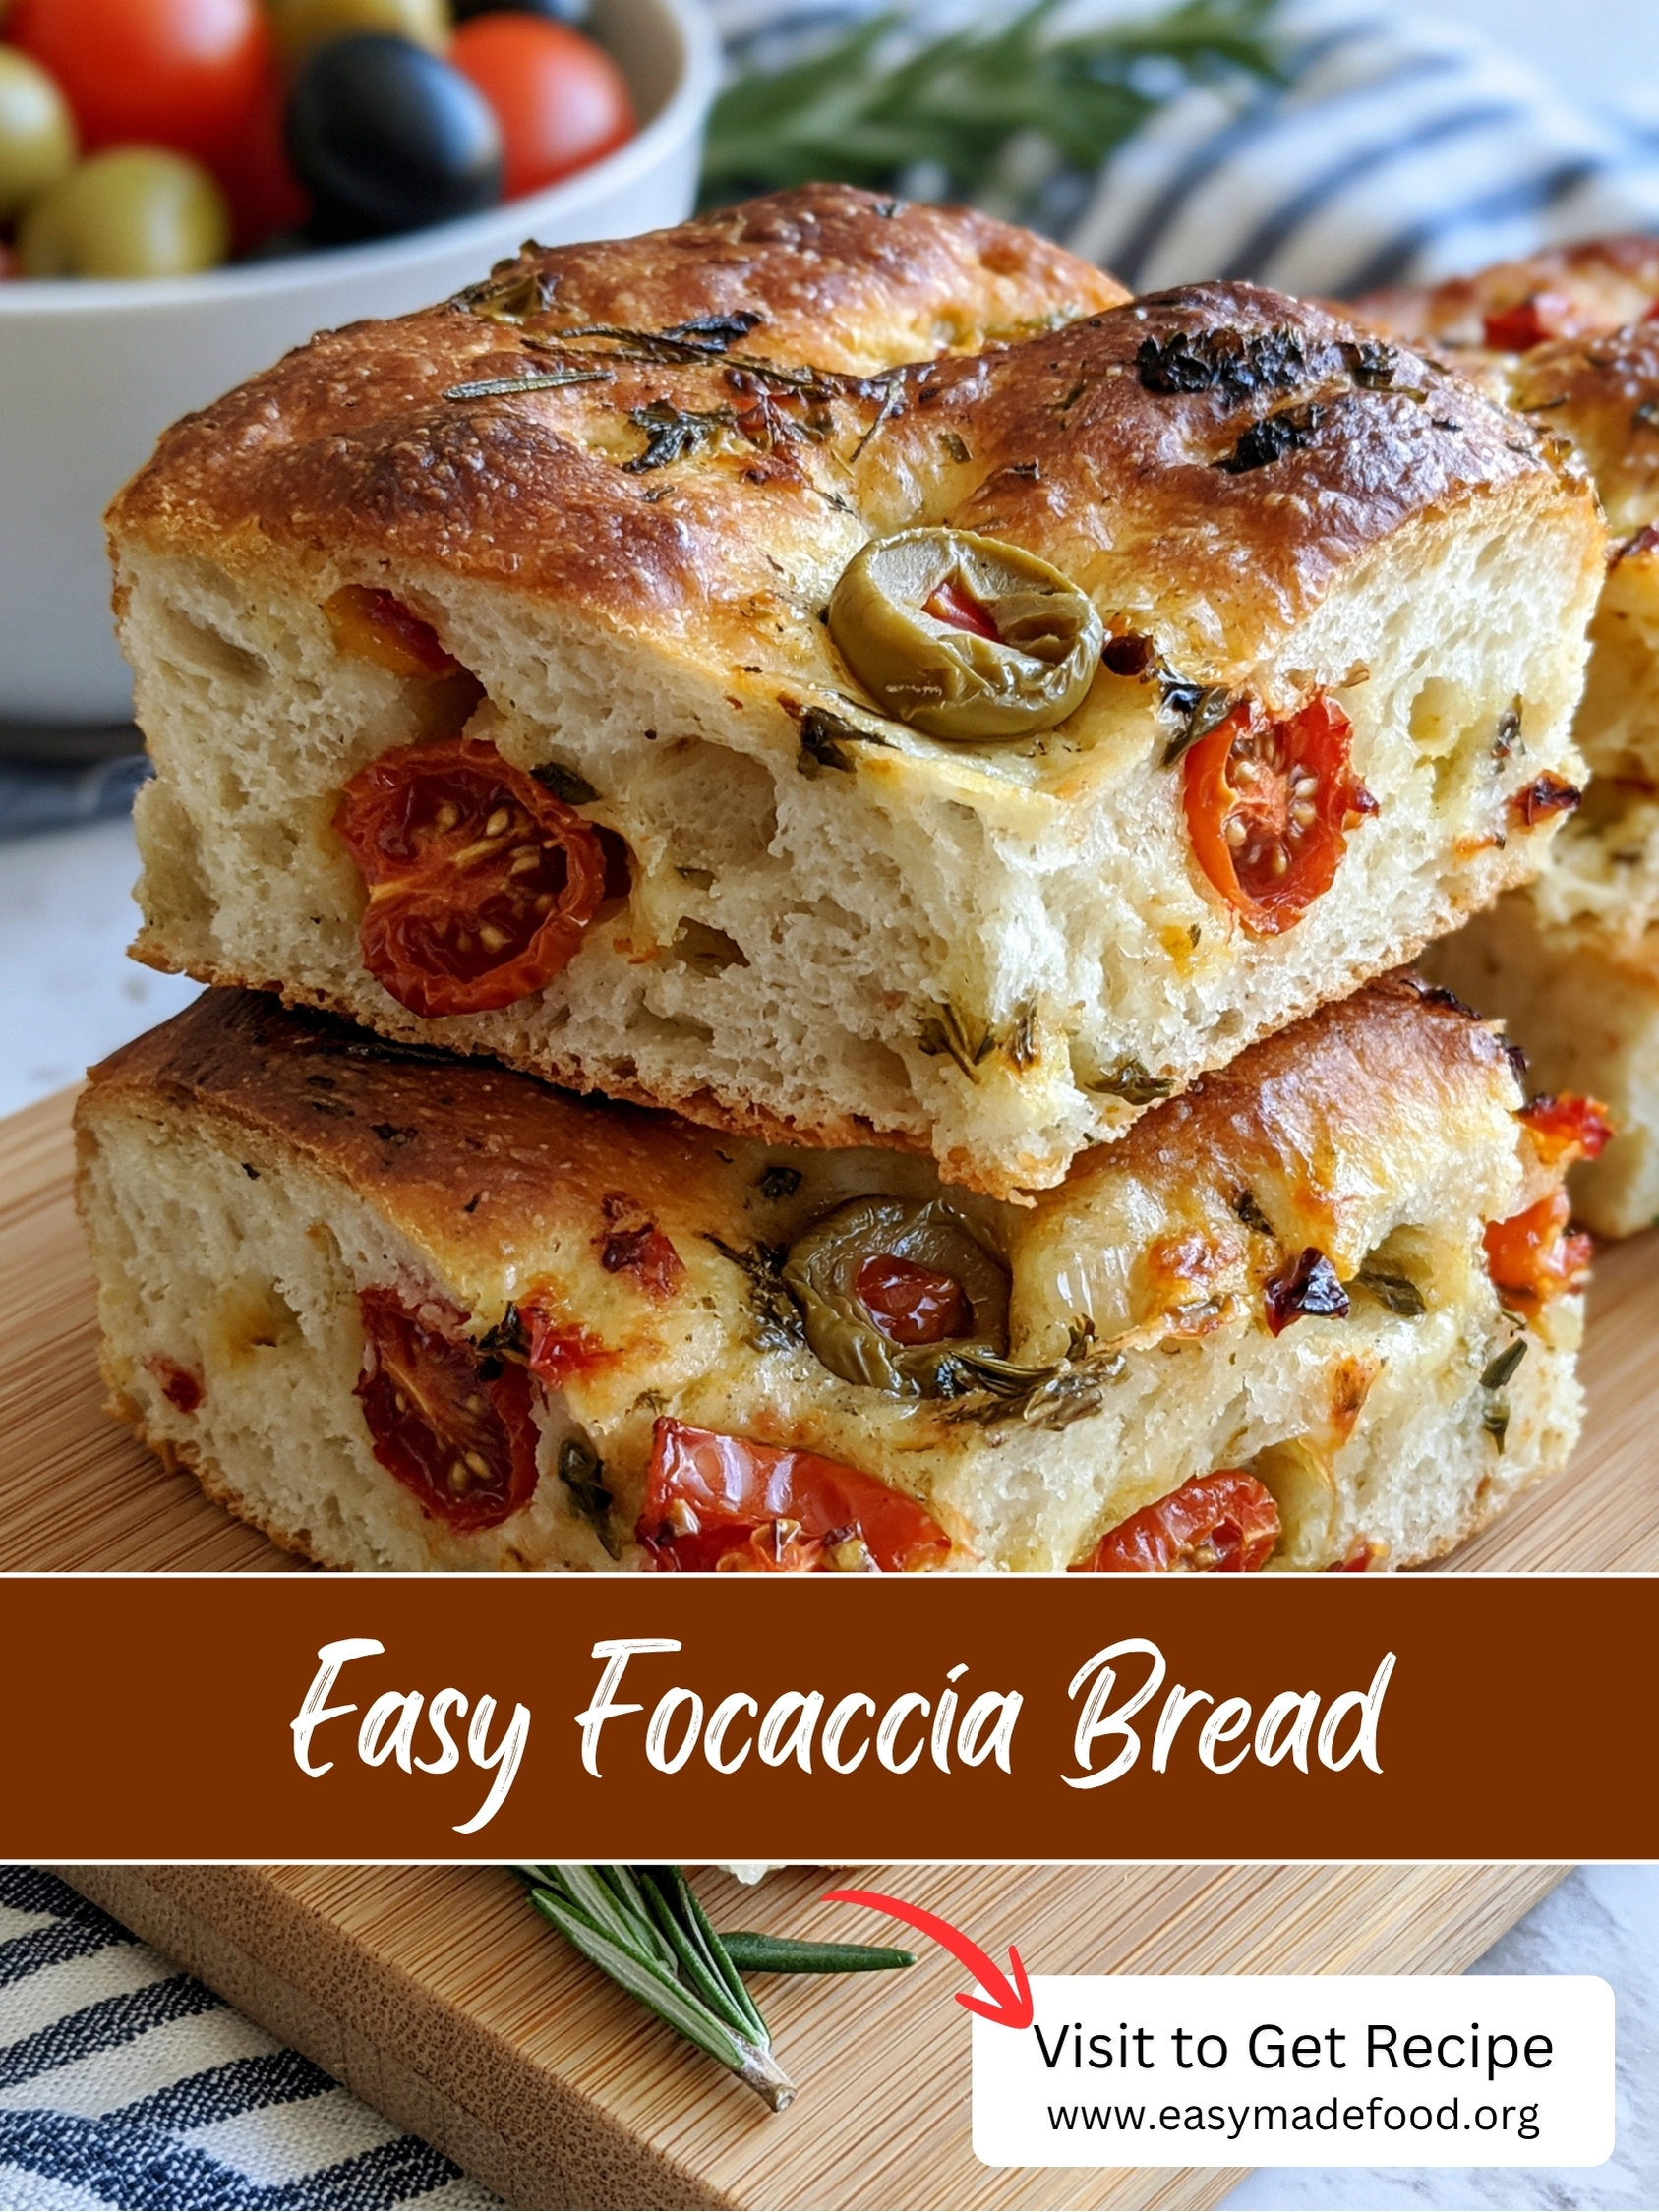
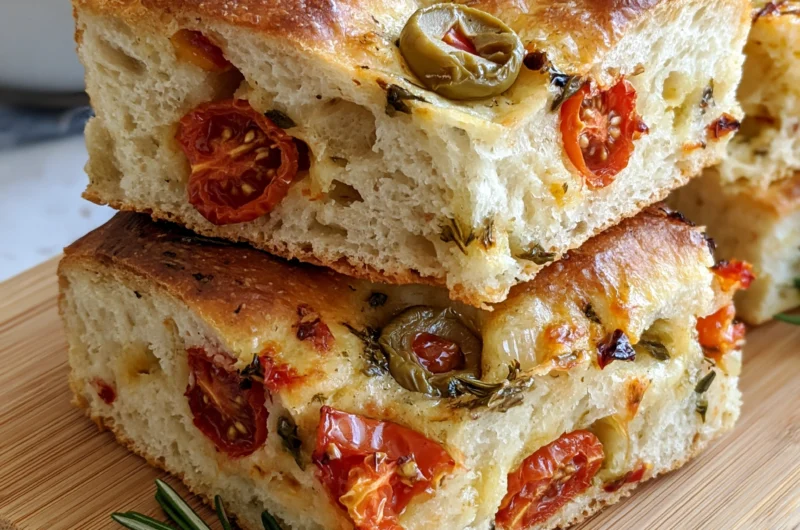
Thick, golden, and glistening with olive oil — this focaccia bread is the one that makes people ask which bakery you bought it from. Every square has a crisp, dimpled top, a soft and airy middle full of little holes, and juicy roasted cherry tomatoes, briny green olives, and fragrant rosemary baked right in, exactly like the photo.
Here is the trick Italian bakers use that most home recipes leave out: the brine. Right before baking, you dimple the dough deeply and pour a simple mix of water, olive oil, and salt over the top so it pools into every dimple. That little step — called salamoia — keeps the crust moist and deeply seasoned, gives you that glossy, bakery-style finish, and stops the toppings from drying out. And the dough itself? No kneading at all. You stir it, let time do the work, and bake.
Why This Focaccia Looks Like It Came From an Italian Bakery
- Zero kneading — stir the dough with a spoon, cover it, and walk away. Time does all the work.
- Thick and airy, never flat — a wet, well-risen dough baked in a 9×13 pan gives you tall squares with big, beautiful holes inside.
- The brine trick — a salty olive oil brine poured over the dimples is the secret behind the glossy top and seasoned-in-every-bite flavor.
- Toppings baked right in — sweet cherry tomatoes, green olives, and rosemary, just like the photo. No plain, boring bread here.
- Beginner-friendly bread — no mixer, no shaping skills, no sourdough starter. If you can stir, you can make this.
The Ingredients (Simple Pantry Staples, Plus Three Star Toppings)
For the dough:
- 4 cups (500 g) bread flour — bread flour gives the chewiest, airiest crumb. All-purpose flour works too; the bread will be a little softer.
- 2 teaspoons instant yeast — instant goes straight into the flour, no proofing needed. Active dry yeast also works (see the FAQs).
- 2 teaspoons fine sea salt
- 1 teaspoon granulated sugar (or honey) — a tiny bit of food for the yeast, so your rise is strong and reliable.
- 1 3/4 cups (420 ml) warm water, about 105°F (40°C) — it should feel like warm bath water. Too hot kills the yeast; too cold slows everything down.
- 1/4 cup (60 ml) extra virgin olive oil, plus 2 to 3 tablespoons more for the pan and drizzling — use an olive oil you like the taste of; you will taste it in every bite.
For the brine (salamoia):
- 1/4 cup (60 ml) warm water
- 1 tablespoon extra virgin olive oil
- 1/2 teaspoon fine sea salt
For the topping (just like the photo):
- 1 cup cherry tomatoes, halved (about 20 tomatoes) — halved so they roast into sweet, jammy pockets instead of rolling off.
- 1/2 cup green olives, halved — the pimento-stuffed kind in the photo add a lovely salty pop. Kalamata or Castelvetrano olives work beautifully too.
- 1 tablespoon fresh rosemary leaves, roughly chopped, plus a sprig for serving — fresh rosemary is classic here; it perfumes the whole loaf as it bakes.
- Flaky sea salt, for finishing — those sparkly crystals on top are not just pretty; they make every bite taste complete.
How to Make It: Stir, Rise, Dimple, Bake
- Mix the dough (5 minutes, no kneading). In a large bowl, whisk together the flour, instant yeast, salt, and sugar. Pour in the warm water and the 1/4 cup of olive oil, then stir with a sturdy spoon or spatula until a shaggy, sticky dough forms and no dry flour remains. It will look rough and very wet — that is exactly right. This wet dough is what gives you the airy holes later, so do not add extra flour.
- First rise (1 hour 30 minutes). Scrape down the sides of the bowl, drizzle a little olive oil over the dough, and cover the bowl tightly. Leave it in a warm, draft-free spot until the dough has doubled, looks puffy and bubbly, and jiggles when you nudge the bowl — about 1 hour 30 minutes. (Optional but worth it: halfway through, give the dough one gentle set of stretch-and-folds with wet hands — pull one side up and over, turn the bowl, and repeat 4 times. It builds a smoother, taller loaf.)
- Pan it and proof again (40 minutes). Pour 2 tablespoons of olive oil into a 9×13-inch (23×33 cm) metal baking pan and rub it over the bottom and sides — be generous, this oil is what fries the bottom crust crisp. Tip the risen dough into the pan, flip it over once so both sides are coated in oil, then gently press it toward the corners with your fingertips. If it springs back, cover and rest it 10 minutes, then press again. Cover and let it rise a second time, about 40 minutes, until it looks puffy and soft like a pillow.
- Heat the oven and prep the toppings. While the dough proofs, preheat your oven to 450°F (230°C) — a hot oven is essential for that crisp, golden crust. Halve the cherry tomatoes and olives so they are ready to go.
- Dimple deeply and add the brine. Whisk the brine ingredients together in a small bowl until the salt dissolves. Coat your fingertips in olive oil, then press straight down into the dough with all ten fingers, all the way to the bottom of the pan, making rows of deep dimples across the whole surface. Pour the brine evenly over the top and watch it pool into the dimples — those little pools are pure flavor.
- Add the toppings. Press the tomato halves, cut-side up, and the olive halves firmly into the dough so they sit nestled in the dimples and will not roll off when the bread rises in the oven. Scatter the rosemary over everything and finish with a confident pinch of flaky sea salt.
- Bake until deeply golden (22 to 25 minutes). Bake until the top is a rich golden brown with darker, crisp edges, the tomatoes look roasted and slightly wrinkled, and the bread has pulled slightly away from the sides of the pan. Slide a spatula underneath and peek — the bottom should be golden and crisp too. If the top colors too fast, drop the heat to 425°F (220°C) for the last few minutes.
- Rest, slice, and serve. Let the focaccia cool in the pan for 10 minutes (it is still finishing inside), then lift it onto a wire rack or wooden board. An extra thin drizzle of your best olive oil is never a bad idea. Slice into 12 generous squares and serve warm.
Sofia’s Expert Tips (the Little Things That Make It Bakery-Good)
- Keep the dough wet. A sticky, high-hydration dough feels wrong the first time, but it is the whole secret to those big airy holes. Fight the urge to add flour — use wet or oiled hands instead.
- Dimple like you mean it. Your fingertips should touch the bottom of the pan. Shallow dimples puff up and disappear in the oven; deep ones stay, and they are the pockets that catch the brine and oil.
- Never skip the brine. The salamoia is what separates good focaccia from unforgettable focaccia. It seasons the top, keeps the crust tender-glossy instead of dry, and protects the rosemary and tomatoes from scorching.
- Press toppings in deep. Tomatoes and olives balanced on top will tumble off as the bread expands. Push them down into the dough so they bake in place and caramelize where they sit.
- More oil in the pan than feels reasonable. That pool of olive oil under the dough is not a mistake — it fries the bottom into a crisp, golden crust. Metal pans give the crispiest result.
- Serve it warm, revive it hot. Focaccia is at its best the day it is baked. Day-old pieces come right back to life in a 375°F (190°C) oven for 5 to 8 minutes — the crust crisps and the middle softens again.
Easy Variations Worth Trying
- Classic rosemary and sea salt: skip the tomatoes and olives and go traditional — just rosemary, flaky salt, and the brine. Simple and perfect for dipping in soups.
- Garlic Parmesan: scatter thinly sliced garlic over the dimples before baking, then shower the hot bread with finely grated Parmesan the moment it comes out of the oven.
- Caramelized onion: spread a cup of sweet, jammy caramelized onions over the dough instead of tomatoes. Rich, slightly sweet, and incredible with a bowl of tomato soup.
- Focaccia pizza night: top the proofed dough with a thin layer of pizza sauce, mozzarella, and your favorite toppings, and bake the same way — thick, fluffy pizza the whole family will fight over.
How to Store, Freeze and Reheat It
- Room temperature: keep leftover squares in an airtight container or wrapped well for up to 2 days. This bread is at its very best on day one.
- Fridge: up to 4 days, well wrapped. Always reheat before serving — cold focaccia tastes dense, warm focaccia tastes fresh.
- Freezer: slice first, then freeze in a sealed bag for up to 3 months. Freezing it sliced means you can revive one square at a time.
- Reheat: warm squares in a 375°F (190°C) oven for 8 to 10 minutes (straight from frozen, 12 to 15 minutes), or in an air fryer for 3 to 4 minutes. Skip the microwave — it makes the crust soft and chewy instead of crisp.
Frequently Asked Questions
Yes — this dough loves a slow rise. Mix it in the evening, cover it, and put it straight into the fridge for 12 to 16 hours. The next day, tip it into the oiled pan, let it come to room temperature and proof for 45 to 60 minutes (it needs a little longer because it starts cold), then dimple, brine, top, and bake as written. The flavor is even deeper.
Yes. Use the same amount, but wake it up first: stir the yeast and sugar into the warm water and let it sit for 5 to 10 minutes until foamy, then pour it over the flour and continue. If it never foams, the yeast is past its prime — start over with a fresh packet rather than hoping for the best.
The three usual reasons: the dough was under-proofed (give it the full rise, until it is truly doubled and jiggly), extra flour was added to the sticky dough (wet dough equals airy bread), or the water was too hot and hurt the yeast — it should feel like warm bath water, around 105°F (40°C). Also make sure you are pressing the toppings in after the second proof, not deflating the dough with rough handling.
You can skip it and still get good bread — but the brine is what makes this recipe taste like the photo looks. The salted water pools in the dimples, seasons the crust from the top down, keeps the surface moist and glossy while the inside bakes, and lightly steams the toppings so they roast instead of burning. It takes 20 seconds to whisk together. Try it once and you will never skip it again.
Almost always, not enough oil in the pan or a pan that does not conduct heat well. Use a metal 9×13 pan, be truly generous with the oil underneath (about 2 tablespoons), and bake in a fully preheated 450°F (230°C) oven. If you only have a glass dish, bake a few minutes longer and check the bottom color before removing it — glass insulates, so the bottom browns more slowly.
Easy Focaccia Bread Recipe
Course: Sides, Side Dish, BreadCuisine: ItalianDifficulty: Easy12
squares2
hours25
minutes25
minutes2
hours50
minutesA thick, golden, no-knead focaccia with a crisp dimpled crust and a soft, airy middle, finished with a salty olive oil brine and topped with roasted cherry tomatoes, green olives, and fresh rosemary — just like an Italian bakery.
Ingredients
4 cups (500 g) bread flour (or all-purpose flour)
2 teaspoons instant yeast
2 teaspoons fine sea salt
1 teaspoon granulated sugar (or honey)
1 3/4 cups (420 ml) warm water, about 105°F (40°C)
1/4 cup (60 ml) extra virgin olive oil, plus 2 to 3 tablespoons more for the pan and drizzling
1/4 cup (60 ml) warm water, for the brine
1 tablespoon extra virgin olive oil, for the brine
1/2 teaspoon fine sea salt, for the brine
1 cup cherry tomatoes, halved (about 20)
1/2 cup green olives, halved (pimento-stuffed or Castelvetrano)
1 tablespoon fresh rosemary leaves, roughly chopped
Flaky sea salt, for finishing
Directions
- Whisk the flour, yeast, salt, and sugar in a large bowl. Add the warm water and 1/4 cup olive oil and stir into a shaggy, sticky dough. Cover and rise about 1 hour 30 minutes, until doubled and bubbly.
- Pour 2 tablespoons olive oil into a 9×13-inch metal pan. Turn the dough into the pan, coat both sides in oil, press gently to the corners, cover, and proof 40 minutes, until puffy.
- Preheat the oven to 450°F (230°C). Whisk the brine (warm water, olive oil, salt) together.
- With oiled fingers, press deep dimples all over the dough, right down to the pan. Pour the brine over so it pools in the dimples.
- Press the tomato halves (cut-side up) and olive halves into the dough. Scatter the rosemary and flaky sea salt over the top.
- Bake 22 to 25 minutes, until deeply golden with crisp edges and a golden bottom. Cool 10 minutes, slice into 12 squares, and serve warm.
Notes
- Do not add extra flour — the wet, sticky dough is what makes the crumb airy. Dimple all the way to the bottom of the pan. Dough can rise overnight in the fridge (12 to 16 hours) for even better flavor. Leftovers reheat best in a 375°F (190°C) oven for 8 to 10 minutes.
Save this recipe for your next pasta night, soup night, or “I just want really good bread” night — one warm, olive-oil-glossy square and you will never buy the store-bought kind again.
More recipes you’ll love: Easy Garlic Bread Recipe, Easy Bread for Beginners Recipe and Easy Butternut Squash Soup Recipe.


2 Comments