
Easy Coconut Cream Pie Recipe
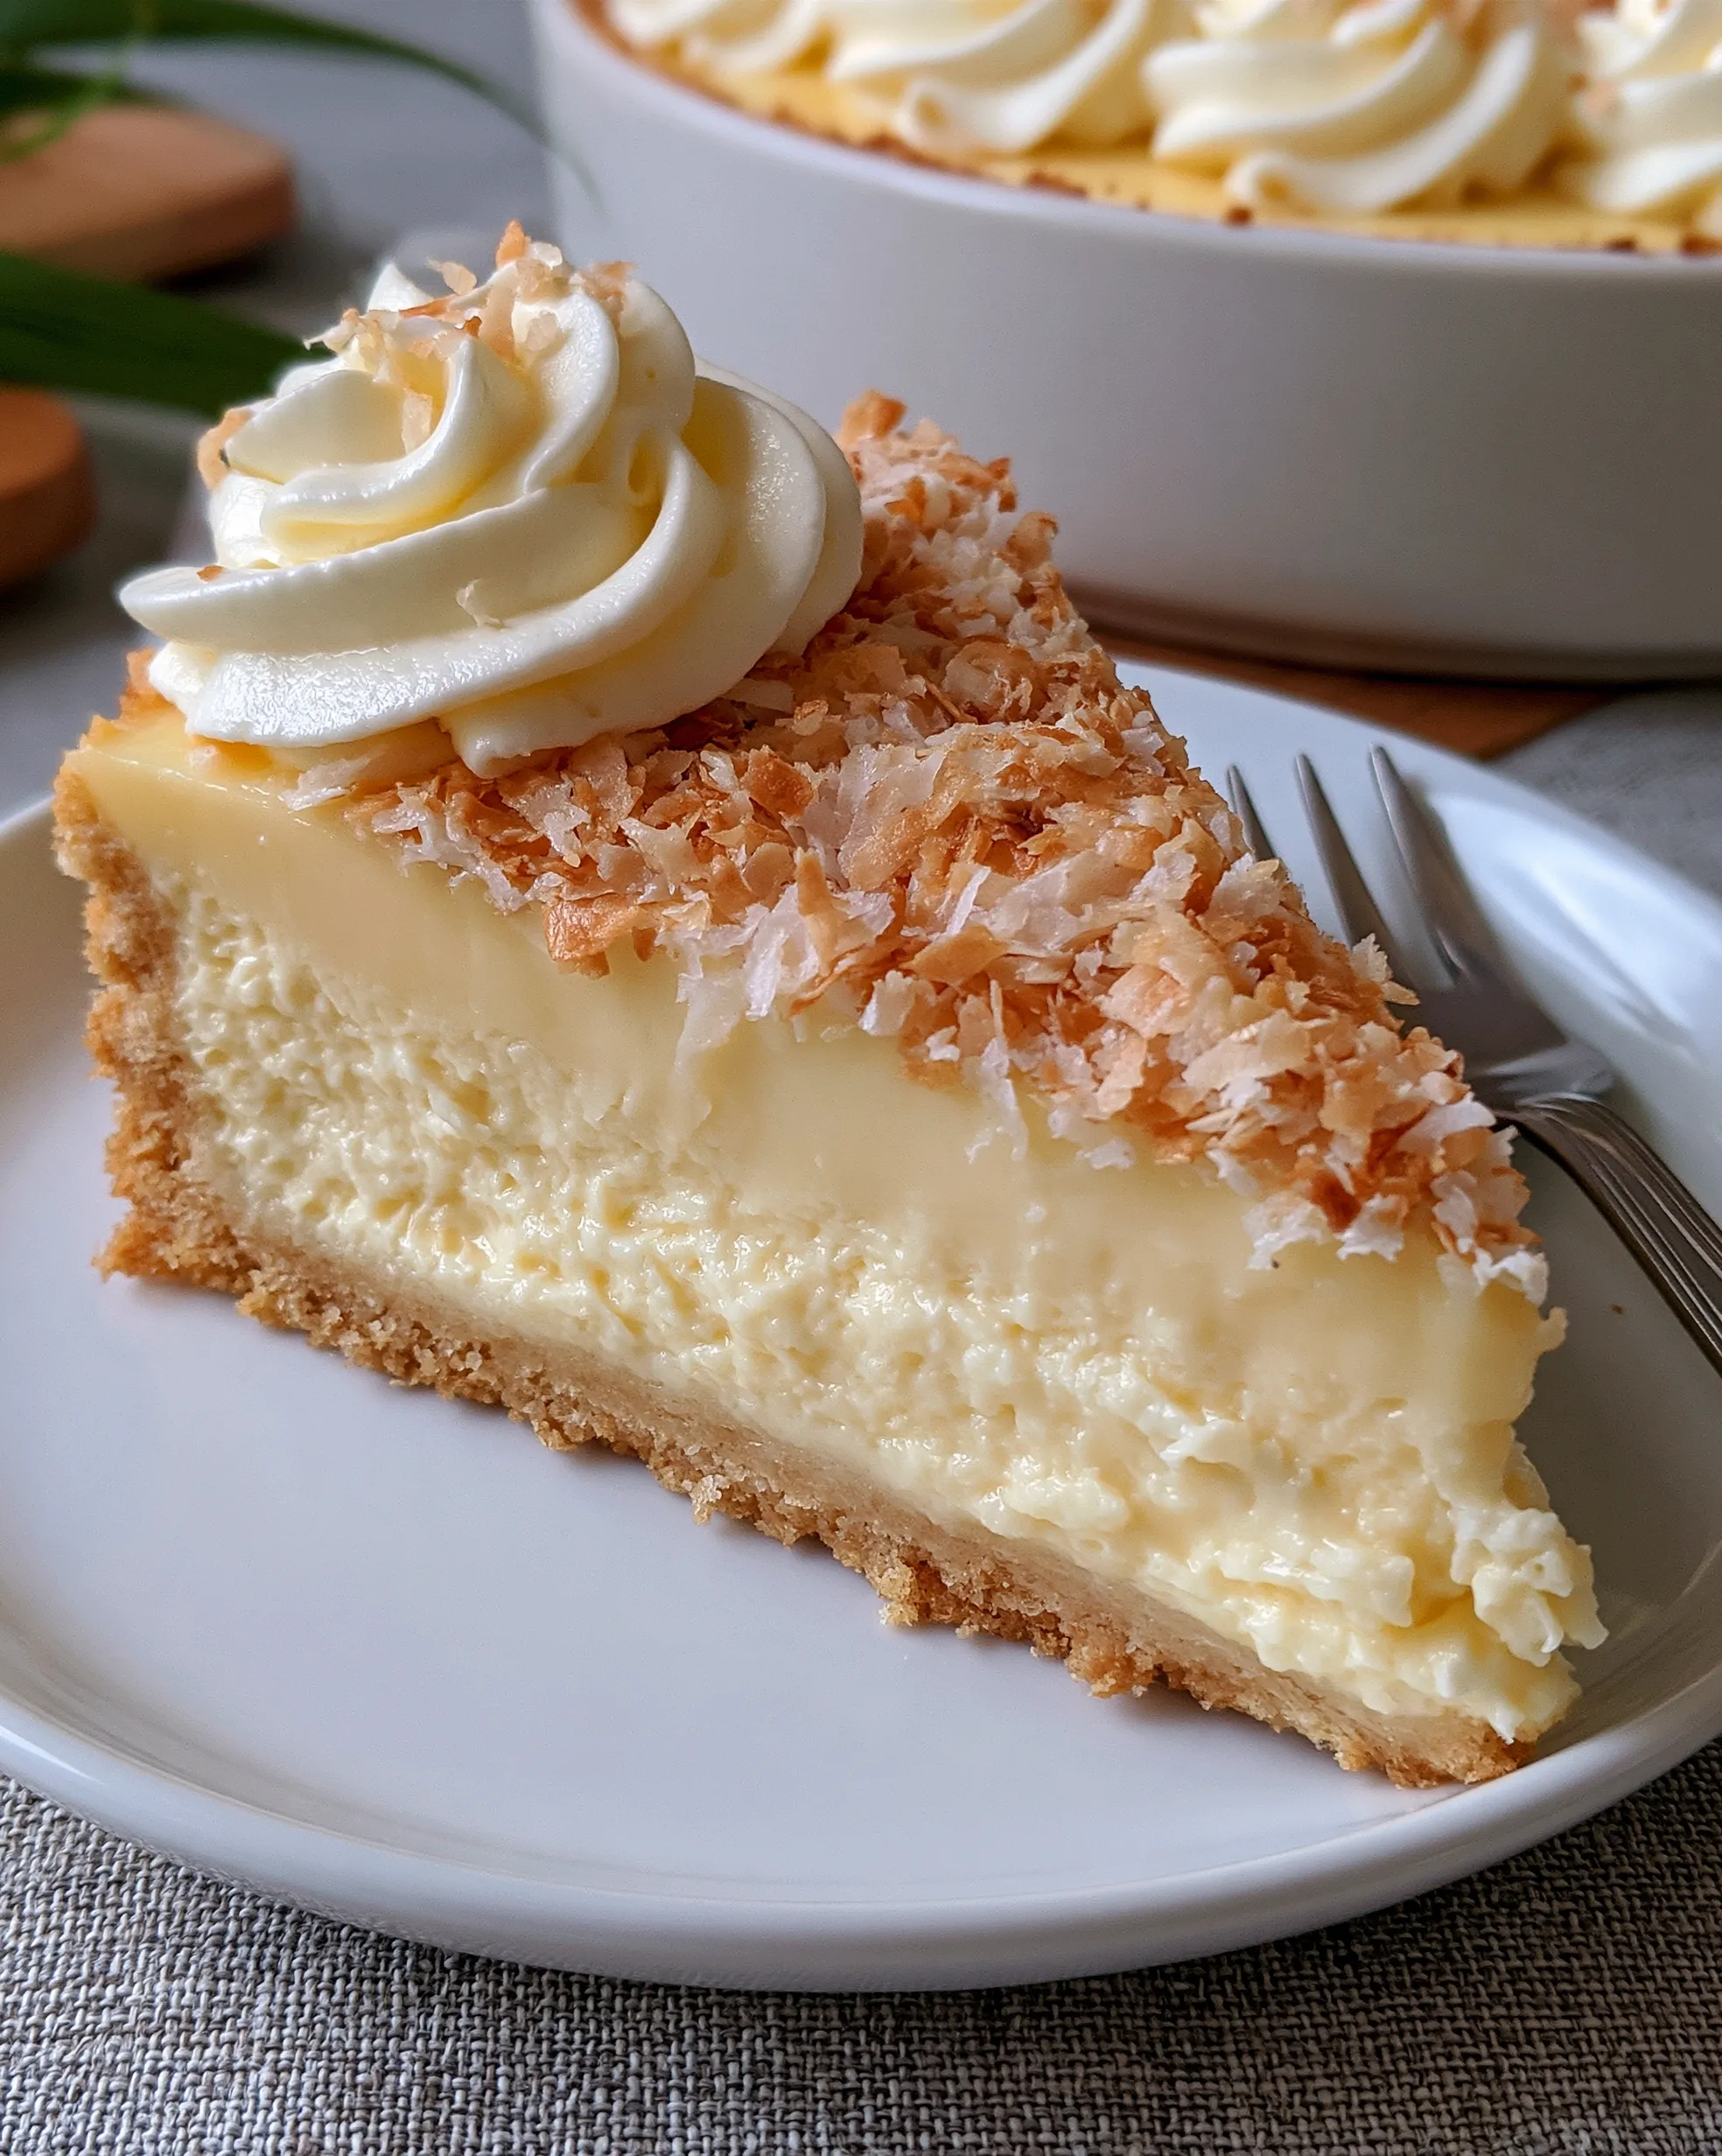
Some pies whisper; this coconut cream pie makes an entrance. A flaky, golden pastry crust holds a thick, silky coconut custard — pale, creamy, and threaded with soft shredded coconut — and the whole top disappears under a blanket of toasted coconut flakes with one big, beautiful rosette of whipped cream, exactly like the photo. It is the diner classic, done properly at home.
Do not let the word “custard” scare you. The filling is a simple stovetop pudding made with coconut milk plus regular milk, and it sets dependably every time thanks to one key moment: letting it truly boil while you whisk. Make it in the morning, chill it while you get on with your day, and by dessert time you will be cutting tall, clean slices that taste like a beach holiday and a county fair had a very good idea.

Why This Pie Tastes Like the Best Diner in Town
- Double coconut flavor — coconut milk in the custard plus shredded coconut folded through, then toasted coconut on top.
- Silky, spoon-standing custard — cooked properly on the stove, so it slices clean and never weeps.
- The toasted top — that golden blanket is not decoration; it adds crunch and deep, nutty flavor to every bite.
- Real pastry crust — flaky and buttery against the soft filling, the way this pie was always meant to be.
- Born to be made ahead — it needs hours of chilling, so dessert is finished long before dinner starts.
The Ingredients (Coconut Three Ways)
- 1 single pastry crust for a 9-inch (23 cm) pie, blind baked and cooled — homemade or store-bought. It must be baked until truly golden; a pale shell goes soggy under custard.
- 1 can (13.5 oz / 400 ml) full-fat coconut milk — full-fat is important. Light coconut milk makes a loose filling that refuses to set. Shake the can well before opening.
- 1 1/2 cups (360 ml) whole milk or half-and-half — softens the coconut milk’s richness into a classic custard flavor.
- 3/4 cup (150 g) granulated sugar — sweetens the custard without overwhelming the coconut.
- 1/3 cup (40 g) cornstarch — the thickener. This slightly generous amount is what gives you those tall, clean slices in the photo.
- 1/4 teaspoon fine salt — a pinch makes the coconut taste more like itself.
- 4 large egg yolks — richness and that pale custard color. Save the whites for meringue on another day (or see the variations).
- 2 tablespoons unsalted butter — whisked in at the end for a glossy, silky finish.
- 1 1/2 teaspoons vanilla extract — plus a drop of coconut extract if you have it, for extra perfume.
- 2 cups (180 g) sweetened shredded coconut, divided — 1 1/4 cups goes into the custard; the remaining 3/4 cup gets toasted for the top.
- 1 1/4 cups (300 ml) cold heavy whipping cream — for the rosette and topping.
- 2 tablespoons powdered sugar — sweetens the cream smoothly.
How to Make It: Blind Bake, Whisk, Chill
- Blind bake the crust. Heat the oven to 375°F (190°C). Fit the dough into a 9-inch pie plate and crimp the edge. Line it with parchment, fill with pie weights or dried beans, and bake 15 minutes. Remove the weights and parchment and bake 8 to 10 minutes more, until the base is dry and the whole shell is golden. Cool completely.
- Toast the coconut. Spread the 3/4 cup of shredded coconut reserved for the top on a sheet pan and bake at 325°F (165°C) for 5 to 8 minutes, stirring once halfway, until evenly golden like the photo. Watch it like a hawk in the last minutes — coconut goes from golden to burnt in a blink. Set aside to cool.
- Start the custard. In a medium saucepan (off the heat), whisk the sugar, cornstarch, and salt together. Slowly whisk in the coconut milk and the whole milk until completely smooth, with no cornstarch lumps hiding at the bottom.
- Cook until it thickens. Set the pan over medium heat and cook, whisking constantly and sweeping the corners of the pan, for 6 to 8 minutes. It will seem thin, then suddenly thicken — keep going until big, slow bubbles plop on the surface.
- Temper the yolks. Whisk the yolks in a small bowl. Ladle in about 1/2 cup of the hot mixture, whisking the whole time so the eggs warm up gently instead of scrambling. Pour the yolk mixture back into the pan, whisk well, and cook 2 minutes more, whisking constantly, until the custard is very thick — it should mound on the back of a spoon.
- Finish the filling. Take the pan off the heat and whisk in the butter and vanilla until melted and glossy. Stir in the untoasted 1 1/4 cups of shredded coconut.
- Fill and chill. Pour the warm custard into the cooled crust and smooth the top. Press a piece of plastic wrap directly onto the surface of the custard (this stops a skin forming). Refrigerate at least 4 hours, until firmly set.
- Top it like the photo. Whip the cold cream with the powdered sugar to stiff peaks. Pipe or spoon it over the pie — one big rosette in the middle or generous swoops — then shower the entire top with the toasted coconut. Serve cold, in proud, tall slices.
Sofia’s Expert Tips (Silky Custard, Never a Runny Slice)
- Let it boil — really boil. Cornstarch only reaches full thickening power at a boil, and a good 2 minutes of cooking after the yolks go in also cooks out any starchy taste. A custard that merely “got thick” will often slice runny; one that plopped big bubbles will not.
- Whisk constantly, corners included. Custard scorches in the pan’s corners first. Keep the whisk moving and sweep the edges, and your custard will taste clean and sweet, never burnt.
- Plastic wrap on the surface, always. Pressed directly onto warm custard, it prevents that rubbery skin that ruins the silky texture. No lumps, no skin, no problem.
- Full-fat coconut milk is the rule. Light versions are mostly water and will betray you at slicing time. If you want an all-coconut-milk filling, use 2 cans and skip the dairy milk — but keep it full-fat.
- Toast more coconut than you think you need. Warm toasted coconut is dangerously snackable, and bakers are only human. Make extra so the pie still gets its full golden blanket.
- Hot knife, clean cuts. Dip your knife in hot water and wipe it between slices for those diner-window wedges with the layers showing.
Easy Variations Worth Trying
- Chocolate coconut cream pie: spread a thin layer of chocolate ganache (or a smear of melted chocolate) over the baked crust before adding the custard — it tastes like your favorite coconut candy bar.
- Banana coconut cream pie: layer sliced ripe bananas over the crust before pouring in the custard for a tropical mash-up of two classics.
- Graham or cookie crust: swap the pastry for a pressed graham cracker or vanilla wafer crust, baked 10 minutes at 350°F (175°C). No blind-baking weights needed.
- Coconut meringue pie: skip the whipped cream and turn the 4 leftover egg whites into a meringue instead — spread it over the warm filling, seal the edges, and bake at 350°F (175°C) for 10 to 12 minutes until golden.
How to Store It
- Fridge: cover loosely (tent the wrap so it does not stick to the topping) and refrigerate up to 4 days. The toasted coconut softens a little by day three but the flavor stays wonderful.
- Freezer: freeze the filled, chilled pie without its whipped cream for up to 1 month. Thaw overnight in the fridge, then top with fresh cream and toasted coconut.
- Reheating: none — this pie is always served cold. Cold is its whole personality.
FAQs
The custard almost certainly did not cook long enough. After the egg yolks go back in, it needs a full 2 minutes of gentle boiling while you whisk — that is when the cornstarch locks in. Light coconut milk and slicing before the 4-hour chill are the other two usual culprits.
Yes. Replace the whole milk with a second can of full-fat coconut milk and swap the butter for coconut oil or a plant-based butter. The filling will taste even more intensely of coconut and sets just as well.
Blind bake it until it is properly golden and dry-looking, not pale, and pour the warm custard into the fully cooled shell. The chocolate ganache layer in the variations also works as a delicious waterproof coat if you want extra insurance for a make-ahead pie.
It is one of the best make-ahead pies you can choose. Make the filled pie the day before and keep it chilled. For the freshest look, add the whipped cream and toasted coconut a few hours before serving.
Use a low oven, 325°F (165°C), spread it in a thin, even layer, and stir it once halfway through. Stay nearby for the last 2 minutes — shredded coconut goes from pale to perfect to burnt remarkably fast. A dry skillet over medium-low heat works too, with constant stirring.
Easy Coconut Cream Pie Recipe
Course: DessertCuisine: AmericanDifficulty: Easy8
slices25
minutes20
minutes45
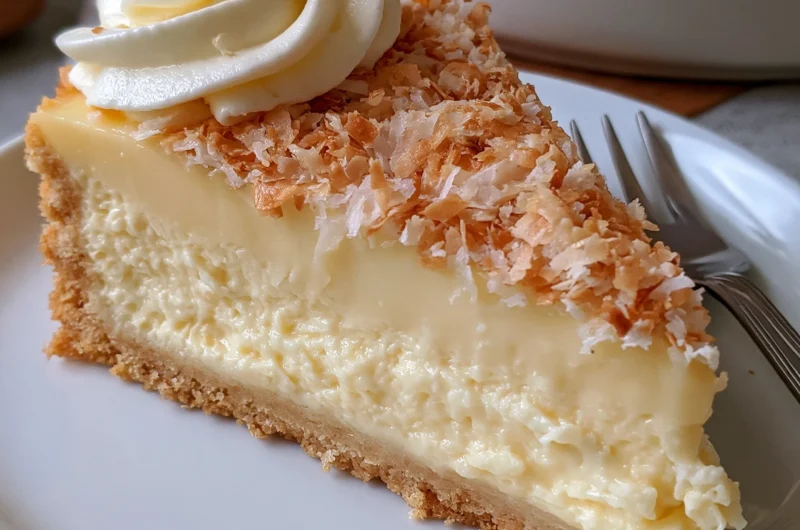
minutesA classic coconut cream pie with a flaky blind-baked pastry crust, thick silky coconut custard, a big whipped cream rosette and a blanket of toasted coconut — exactly like the photo.
Ingredients
1 single pastry crust for a 9-inch pie, blind baked and cooled
1 can (13.5 oz / 400 ml) full-fat coconut milk
1½ cups (360 ml) whole milk or half-and-half
¾ cup (150 g) granulated sugar
⅓ cup (40 g) cornstarch
¼ tsp fine salt
4 large egg yolks
2 tbsp unsalted butter
1½ tsp vanilla extract
2 cups (180 g) sweetened shredded coconut, divided
1¼ cups (300 ml) cold heavy whipping cream
2 tbsp powdered sugar
Directions
- Blind bake the crust at 375°F (190°C) until golden; cool completely.
- Toast ¾ cup shredded coconut at 325°F (165°C) 5–8 minutes until golden.
- Whisk sugar, cornstarch and salt; whisk in coconut milk and whole milk until smooth.
- Cook over medium heat, whisking constantly, until thick with big bubbles.
- Temper the yolks with hot custard; return to the pan; cook 2 minutes more until very thick.
- Off the heat, whisk in butter and vanilla; stir in 1¼ cups shredded coconut.
- Pour into the crust; cover surface with plastic wrap; chill at least 4 hours.
- Whip cream with powdered sugar; top the pie; shower with toasted coconut; serve cold.
Notes
- Use full-fat coconut milk and let the custard boil gently for a full 2 minutes after adding the yolks — that is what guarantees clean, tall slices. Press plastic wrap directly on the warm custard to prevent a skin, chill at least 4 hours, and add the whipped cream and toasted coconut just before serving.
Save this recipe for your next family dinner — one slice of that silky custard under its golden coconut blanket and you will understand why this pie never left the diner menu.
More recipes you’ll love: Easy Key Lime Pie Recipe, Easy Lemon Meringue Pie Recipe and Easy No-Bake Peanut Butter Pie Recipe.




One Comment