
Easy Cherry Pie Recipe
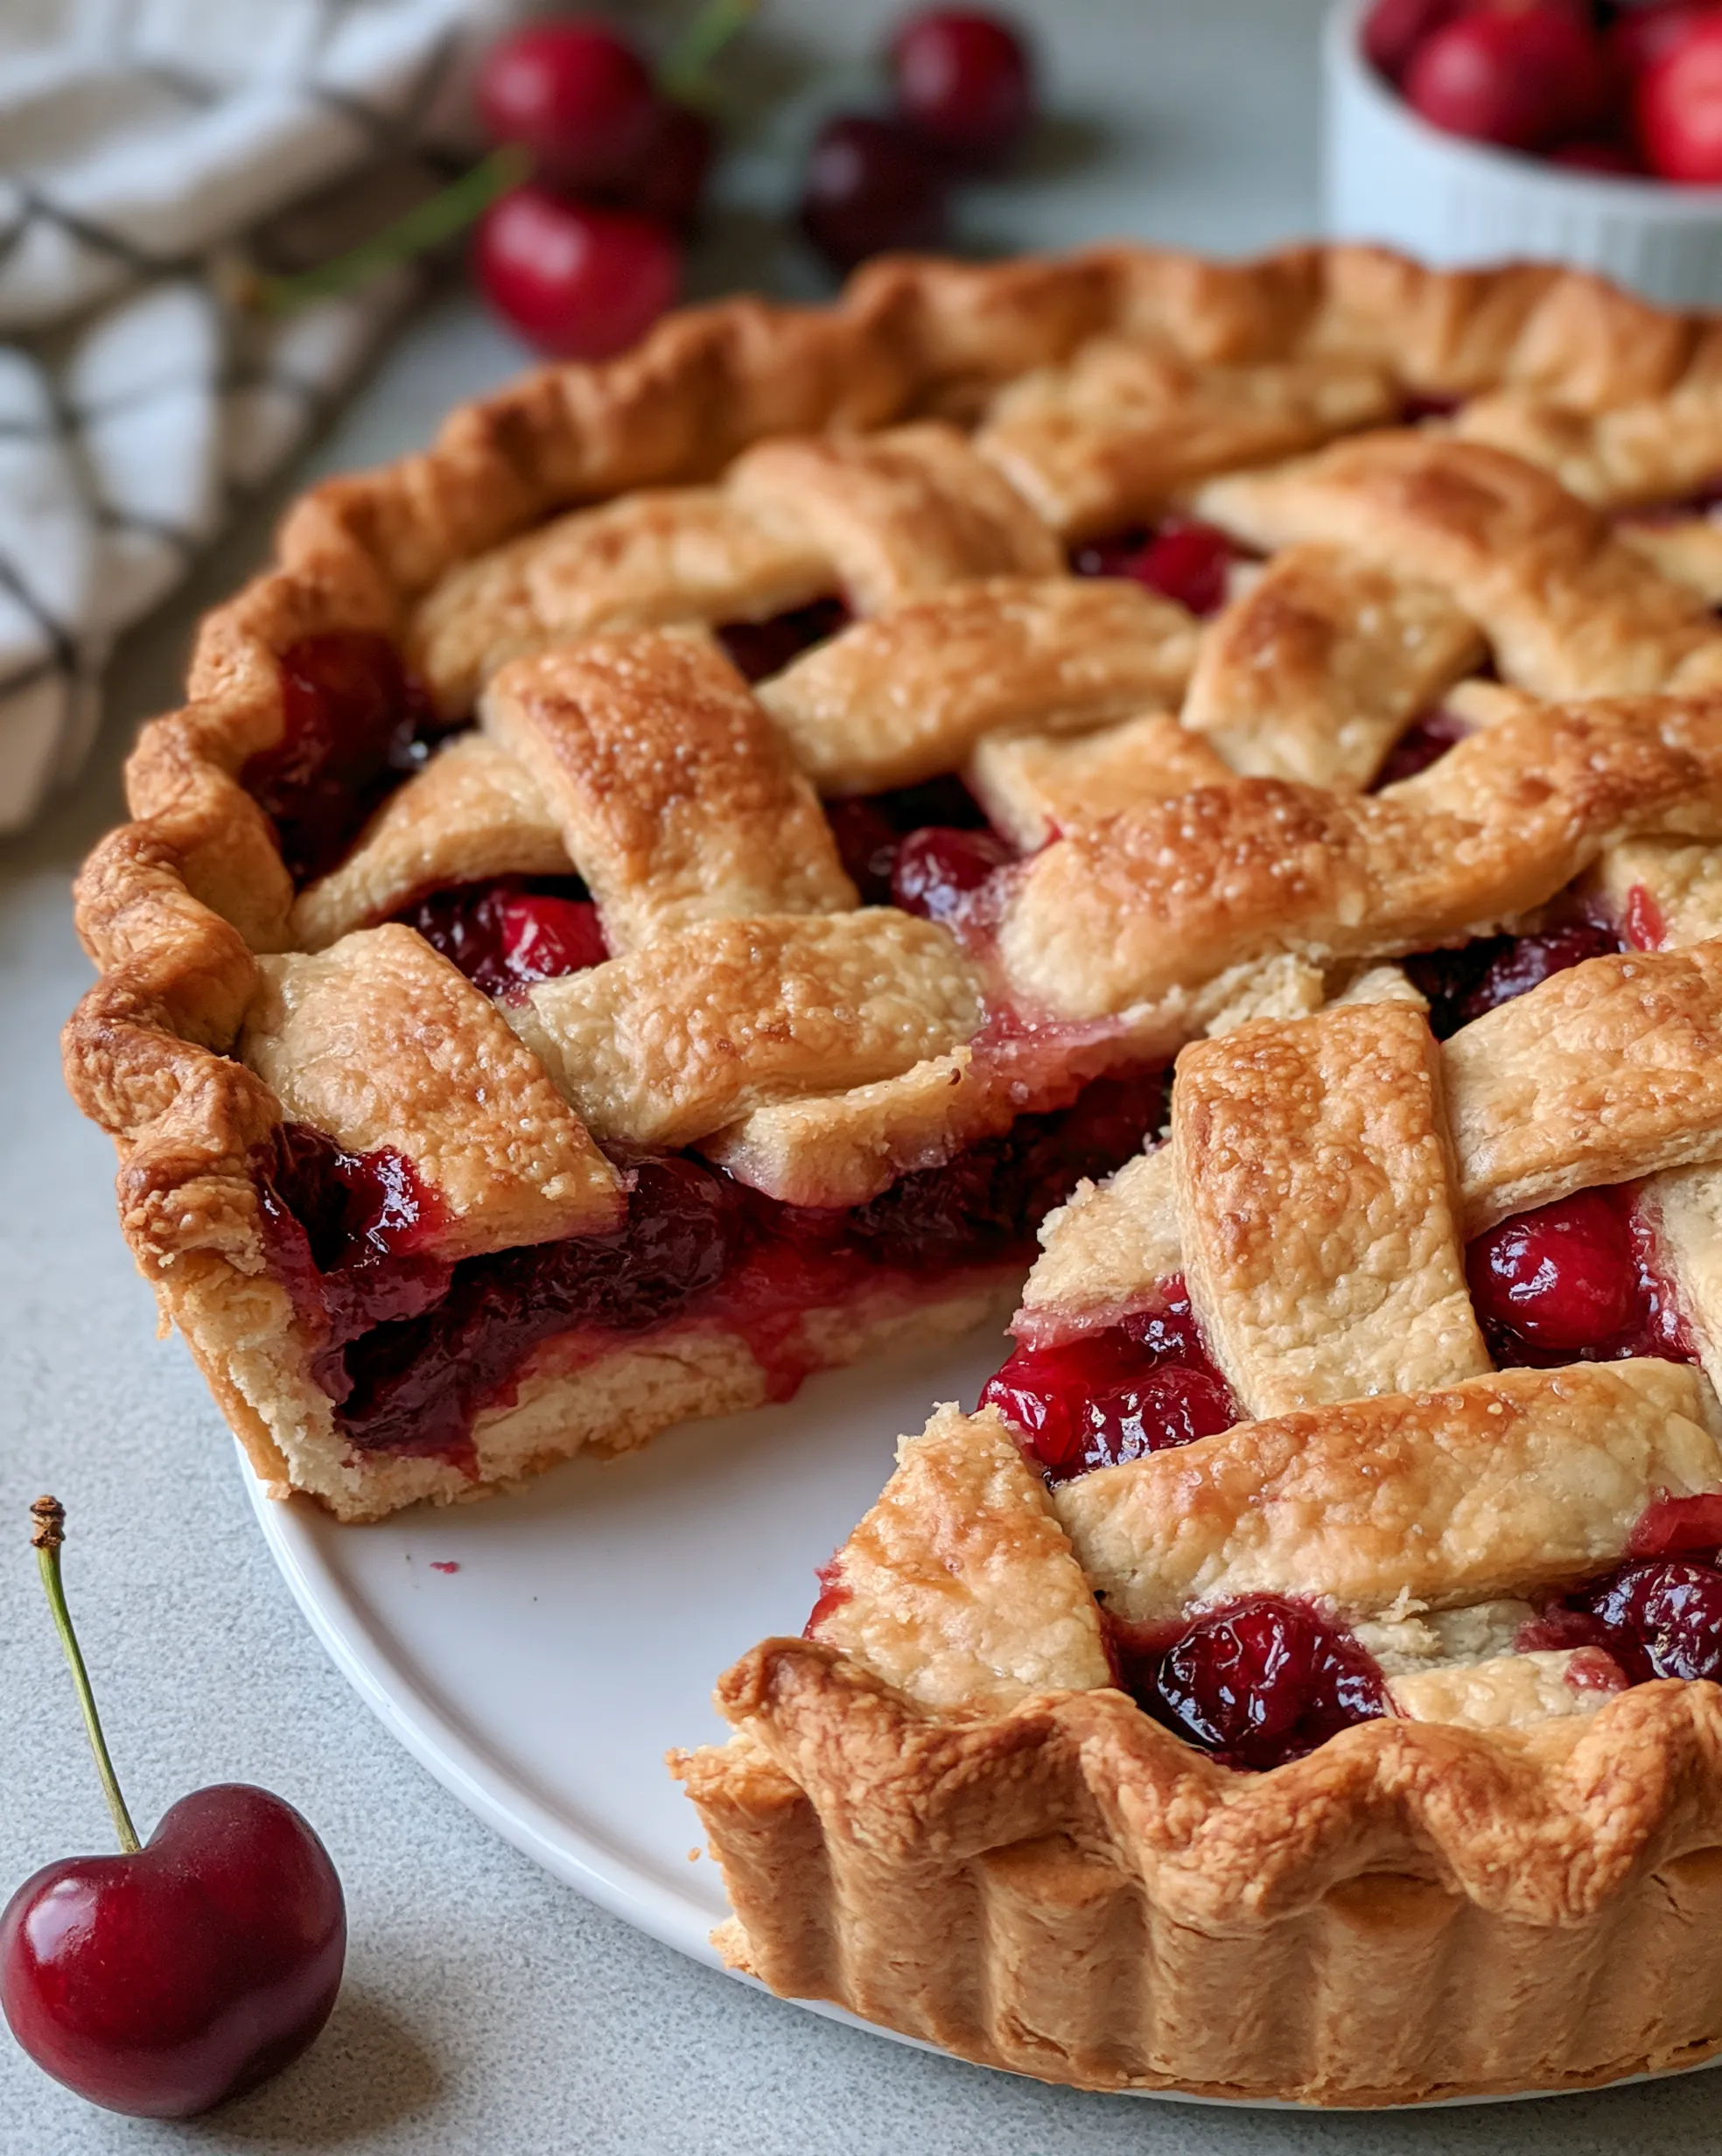
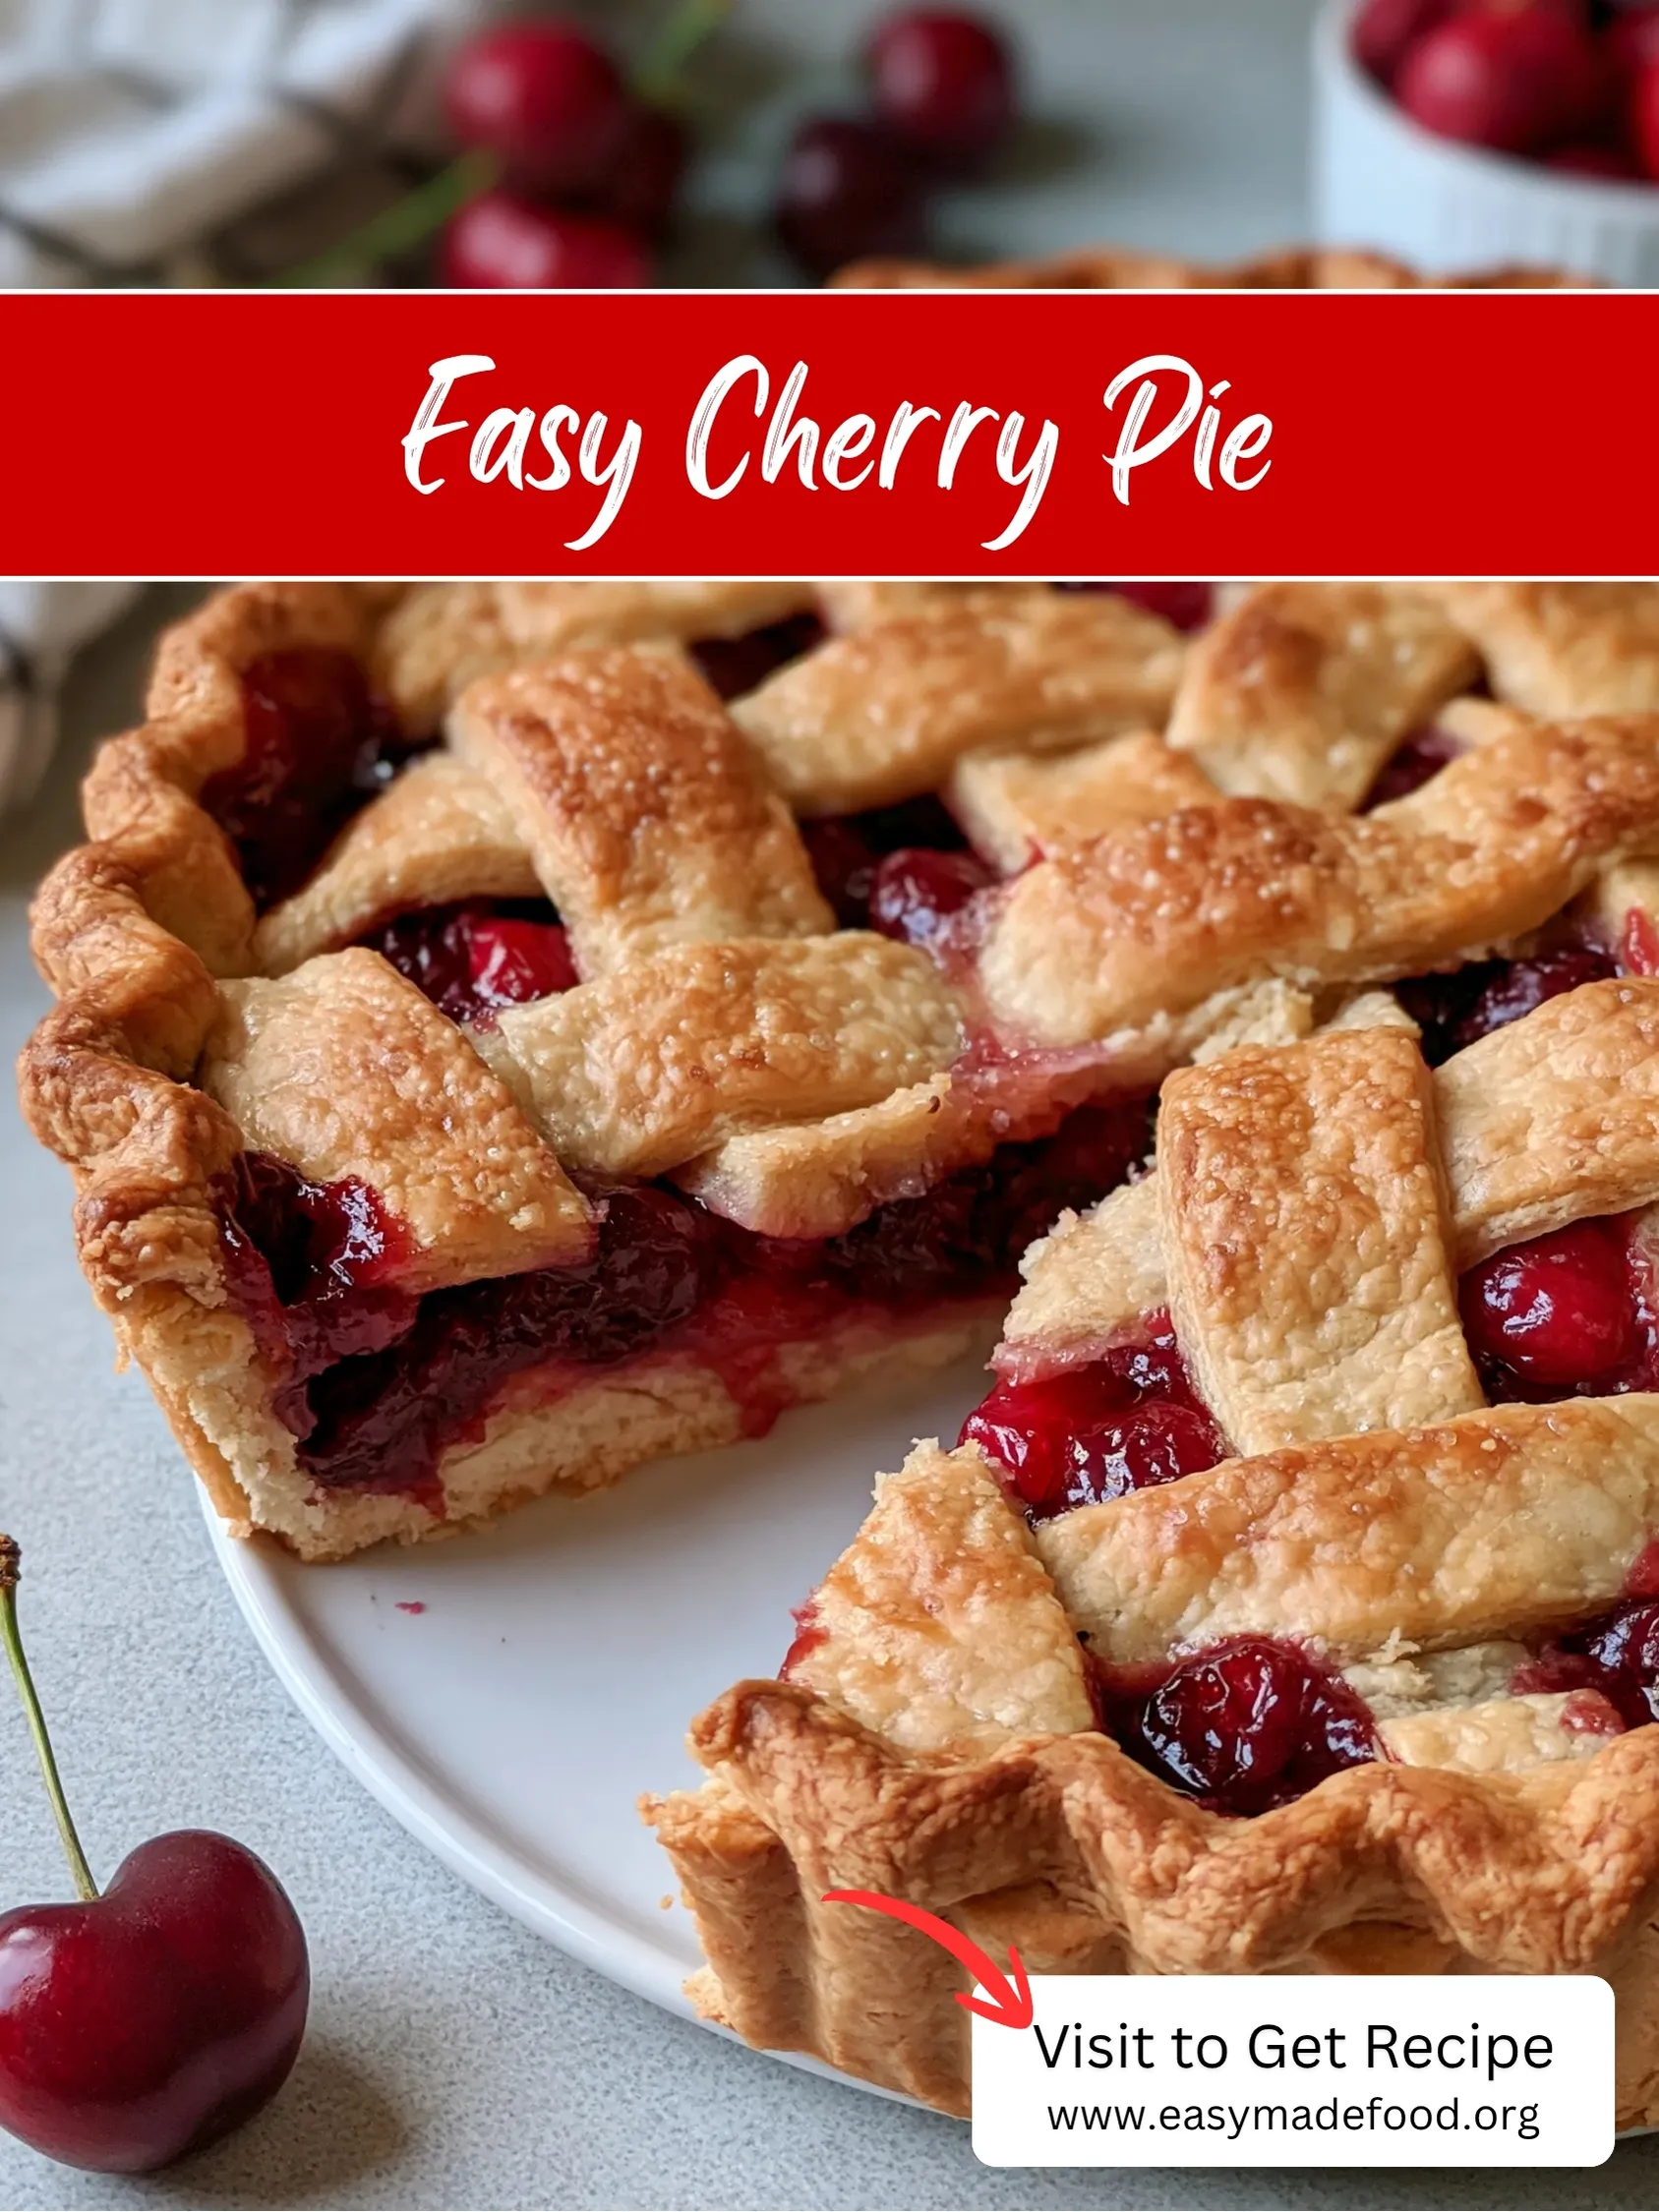
There is a moment, about halfway through baking, when a cherry pie perfumes the whole house with warm fruit and butter — and everyone suddenly finds a reason to walk through the kitchen. This cherry pie is the full classic: a flaky double crust, a wide woven lattice with a sugary sparkle, a fluted edge, and a glossy, jammy filling of whole cherries that actually stays put when you cut a slice, exactly like the photo.
The trick that guarantees that set, spoonable-but-not-runny filling is simple: let the cherries give up their juice first, then thicken the juice on the stove before it ever meets the crust. You get all the bright cherry flavor with none of the soupy disappointment. Whether your cherries are fresh from the market or frozen from last summer, this is the pie that makes people ask for the recipe.
Why This Cherry Pie Cuts Clean Every Single Time
- Jammy, sliceable filling — pre-thickening the juices means no runny puddles on the plate, ever.
- A real woven lattice — wide golden strips show off the ruby filling underneath, just like the photo.
- Sour cherry flavor, front and center — tart cherries plus a whisper of almond extract tastes like the best bakery version.
- Flaky, never soggy, bottom crust — a screaming-hot sheet pan under the pie does the work for you.
- Works with frozen cherries — no pitting marathon required, so you can bake it any month of the year.
The Ingredients (Tart Cherries, Honest Pastry)
- 1 recipe double-crust pie dough (homemade or 2 store-bought rounds), well chilled — cold dough is flaky dough. Store-bought is a perfectly fine shortcut; roll it out slightly thinner for the lattice strips.
- 5 cups (about 2 lbs / 900 g) pitted sour cherries, fresh or frozen — sour (tart) cherries are the classic pie cherry and need no apology. If using frozen, thaw them in a colander so they release their juice. Sweet cherries also work; see the variations.
- 1 1/4 cups (250 g) granulated sugar — sour cherries need it. Drop it to 1 cup if your cherries are on the sweeter side.
- 1/4 cup (30 g) cornstarch — the thickener that gives the filling its glossy, jammy set.
- 1 tablespoon lemon juice — brightens the fruit and helps the color stay ruby-red.
- 1/4 teaspoon almond extract — the secret background note that makes cherries taste more like cherries. Do not skip it if you have it.
- 1/4 teaspoon fine salt — balances the sweet-tart filling.
- 1 1/2 tablespoons cold butter, cut into small cubes — dotted over the filling for richness.
- 1 large egg beaten with 1 tablespoon milk — the egg wash that turns the lattice deep golden and glossy.
- 1 tablespoon coarse (demerara) sugar — for the sparkling finish on the lattice, just like the photo.
How to Make It: Juice First, Then Weave
- Draw out the cherry juice. Toss the cherries with the granulated sugar in a big bowl and let them sit for 30 minutes, stirring once or twice. The sugar will pull out a generous amount of ruby juice — that is exactly what we want.
- Thicken the juice. Drain the cherries through a colander set over a bowl and measure the juice (you should have roughly 3/4 cup; if it is much less, wait a little longer). Whisk 1/4 cup of the juice with the cornstarch into a smooth slurry. Bring the remaining juice to a simmer in a small saucepan, whisk in the slurry, and cook for about 1 minute, whisking constantly, until it turns thick and glossy like warm jam. Pour it back over the cherries, add the lemon juice, almond extract, and salt, and stir gently. Let the filling cool while you work on the crust.
- Heat the oven properly. Set a rack in the lower third of the oven and put a foil-lined sheet pan on it. Heat the oven to 425°F (220°C). That hot pan is your insurance policy against a soggy bottom.
- Line the dish. Roll the bottom crust into a circle about 12 inches wide and fit it into a 9-inch (23 cm) pie plate, letting the excess hang over the edge. Fill with the cherry mixture, spreading the cherries into an even layer, and dot the top with the butter cubes.
- Weave the lattice. Roll the top crust and cut it into 10 strips about 1 inch wide. Lay 5 strips across the pie, spacing them evenly. Fold back every other strip, lay one strip across, unfold, then fold back the opposite strips and lay the next cross strip — keep alternating until all 5 cross strips are woven in. Trim the strip ends, fold the bottom crust’s overhang up over the lattice ends, and crimp or flute the edge all the way around, like the photo.
- Wash and sugar. Brush the lattice and the edge with the egg wash (avoid pooling it in the weave) and sprinkle the coarse sugar over the top.
- Bake until the center bubbles. Set the pie on the hot sheet pan. Bake 20 minutes at 425°F (220°C), then reduce the heat to 375°F (190°C) and bake 35 to 40 minutes more. The crust should be deep golden and the juices must be bubbling thickly in the very center of the pie — bubbling only at the edges is not enough. If the lattice browns too fast, tent it loosely with foil.
- Cool for at least 3 hours. This is the hardest step and the most important. The filling finishes setting as it cools. Cut it early and even a perfectly thickened filling will slide. Serve at room temperature or barely warm, with vanilla ice cream if you are doing things properly.
Sofia’s Expert Tips (Golden Lattice, Zero Soggy Bottoms)
- The center-bubble rule is everything. Cornstarch only reaches its full thickening power at a real boil. If the middle of the pie never bubbles, the filling will not set — give it more time, even if the crust looks done (foil is your friend).
- Hot pan, low rack. Starting the pie on a preheated sheet pan on a low rack crisps the bottom crust from minute one and catches any drips at the same time.
- Keep every part cold until the oven. Chill the assembled pie for 15 minutes while the oven heats if your kitchen is warm. Cold fat in the dough is what puffs into flakes.
- Weave on parchment if you are nervous. Build the lattice on a sheet of parchment, chill it for 10 minutes, then slide the whole thing onto the filling in one confident move.
- Almond extract is the cherry amplifier. A quarter teaspoon will not make the pie taste like almonds — it will make it taste like the best cherries you have ever had. It is the difference between good and bakery-good.
- Rest the filling before it goes in. Hot or warm filling steaming inside raw dough is another soggy-bottom culprit. The filling should be cool or room temperature when the lattice goes on.
Easy Variations Worth Trying
- Sweet cherry pie: use sweet (Bing-style) cherries, drop the sugar to 3/4 cup, and raise the lemon juice to 2 tablespoons to keep the flavor lively.
- Cherry-berry pie: swap 1 1/2 cups of the cherries for blueberries or raspberries — the color stays gorgeous and the flavor gets more complex.
- Crumb-top cherry pie: skip the lattice and cover the filling with a buttery brown-sugar oat crumble instead. Faster, and wonderful warm.
- Mini cherry hand pies: cut the dough into rounds, fill, fold, crimp with a fork, and bake at 400°F (200°C) for 20 to 25 minutes. Portable summer happiness.
How to Store, Freeze and Reheat It
- Counter: fruit pies keep happily at room temperature, loosely covered, for up to 2 days.
- Fridge: refrigerate up to 4 to 5 days. The crust softens slightly but the flavor stays lovely.
- Freezer (baked): cool completely, wrap the whole pie tightly, and freeze up to 3 months. Thaw overnight in the fridge and re-crisp in a 350°F (175°C) oven for 15 minutes.
- Freezer (unbaked): assemble the pie in a metal or freezer-safe plate, freeze it solid, wrap, and bake from frozen adding 15 to 20 minutes to the baking time.
- Reheat a slice: 8 to 10 minutes in a 325°F (165°C) oven brings the crust back to life far better than the microwave.
FAQs
All three work. Fresh sour cherries are the gold standard when they are in season. Frozen sour cherries are a close second — thaw and drain them well, and use their juice in step 2. Canned cherries packed in water also work; drain them and reduce the sugar slightly. Avoid canned cherry pie filling, which is pre-sweetened and already thickened, and defeats the purpose of this recipe.
Two usual causes: the filling never truly boiled in the center of the pie, so the cornstarch never fully activated, or the pie was sliced before it cooled. This recipe’s pre-thickened juice gives you a head start, but you still need those thick center bubbles in the oven and a full 3-hour rest on the counter.
You do not have to weave. Laying 5 strips one way and 5 across the top in a simple crosshatch looks almost identical from serving distance and takes half the time. The woven version in the photo is classic, but a simple lattice still lets the filling peek through beautifully.
Three defenses work together: pre-thicken the juice so less raw liquid hits the dough, bake on a preheated sheet pan on a low rack, and make sure the filling is cool when it goes into the crust. Together they give you a bottom that stays flaky for days.
Yes — it is one of the best make-ahead pies there is. Bake it a day ahead and keep it covered at room temperature; the flavor deepens overnight. Or freeze it unbaked and bake it fresh on the day, adding extra time from frozen.
Easy Cherry Pie Recipe
Course: DessertsCuisine: AmericanDifficulty: Easy8
slices45
minutes1
hour1
hour45
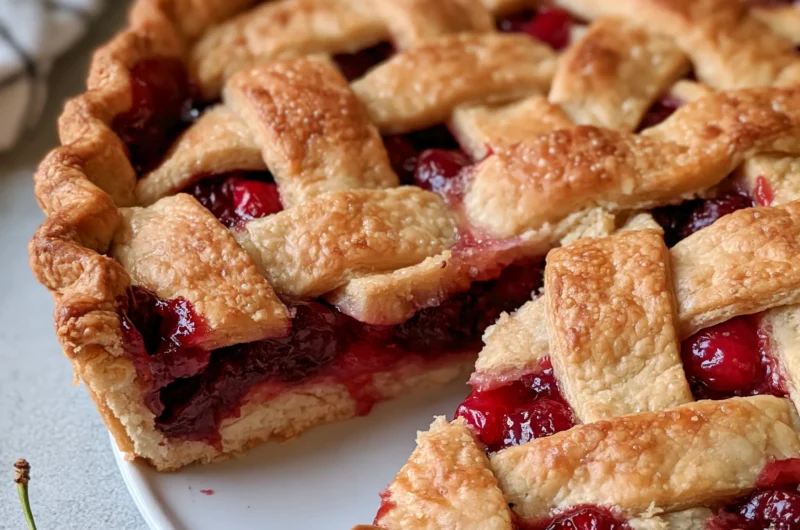
minutesA classic cherry pie with a flaky double crust, a wide woven lattice brushed with egg wash and coarse sugar, and a glossy, jammy sour-cherry filling that slices clean — exactly like the photo.
Ingredients
1 double-crust pie dough recipe (or 2 store-bought rounds), chilled
5 cups (about 2 lb / 900 g) pitted sour cherries, fresh or frozen
1¼ cups (250 g) granulated sugar
¼ cup (30 g) cornstarch
1 tbsp lemon juice
¼ tsp almond extract
¼ tsp fine salt
1½ tbsp cold butter, cubed
1 large egg beaten with 1 tbsp milk (egg wash)
1 tbsp coarse (demerara) sugar
Directions
- Toss cherries with sugar; rest 30 minutes to draw out juice.
- Drain; thicken the juice with a cornstarch slurry on the stove until glossy; stir back into cherries with lemon juice, almond extract and salt; cool.
- Heat oven to 425°F (220°C) with a foil-lined sheet pan on the lower rack.
- Line a 9-inch pie plate with the bottom crust; fill with cherries; dot with butter.
- Weave a 10-strip lattice on top; trim, fold and flute the edge.
- Brush with egg wash; sprinkle coarse sugar.
- Bake on the hot pan: 20 minutes at 425°F, then 35–40 minutes at 375°F (190°C) until the center bubbles thickly.
- Cool at least 3 hours before slicing.
Notes
- Pre-thickening the cherry juice on the stove is the secret to a filling that sets glossy and sliceable. Bake on a preheated sheet pan until the juices bubble thickly in the very center, and cool the pie a full 3 hours before slicing. Frozen sour cherries work just as well as fresh.
Save this recipe for cherry season — or do not wait for it, because with frozen cherries this golden, jammy lattice pie is always in season.
More recipes you’ll love: Easy Apple Pie Recipe, Easy Pie Crust Recipe and Easy Key Lime Pie Recipe.



One Comment