
Easy Pie Crust Recipe
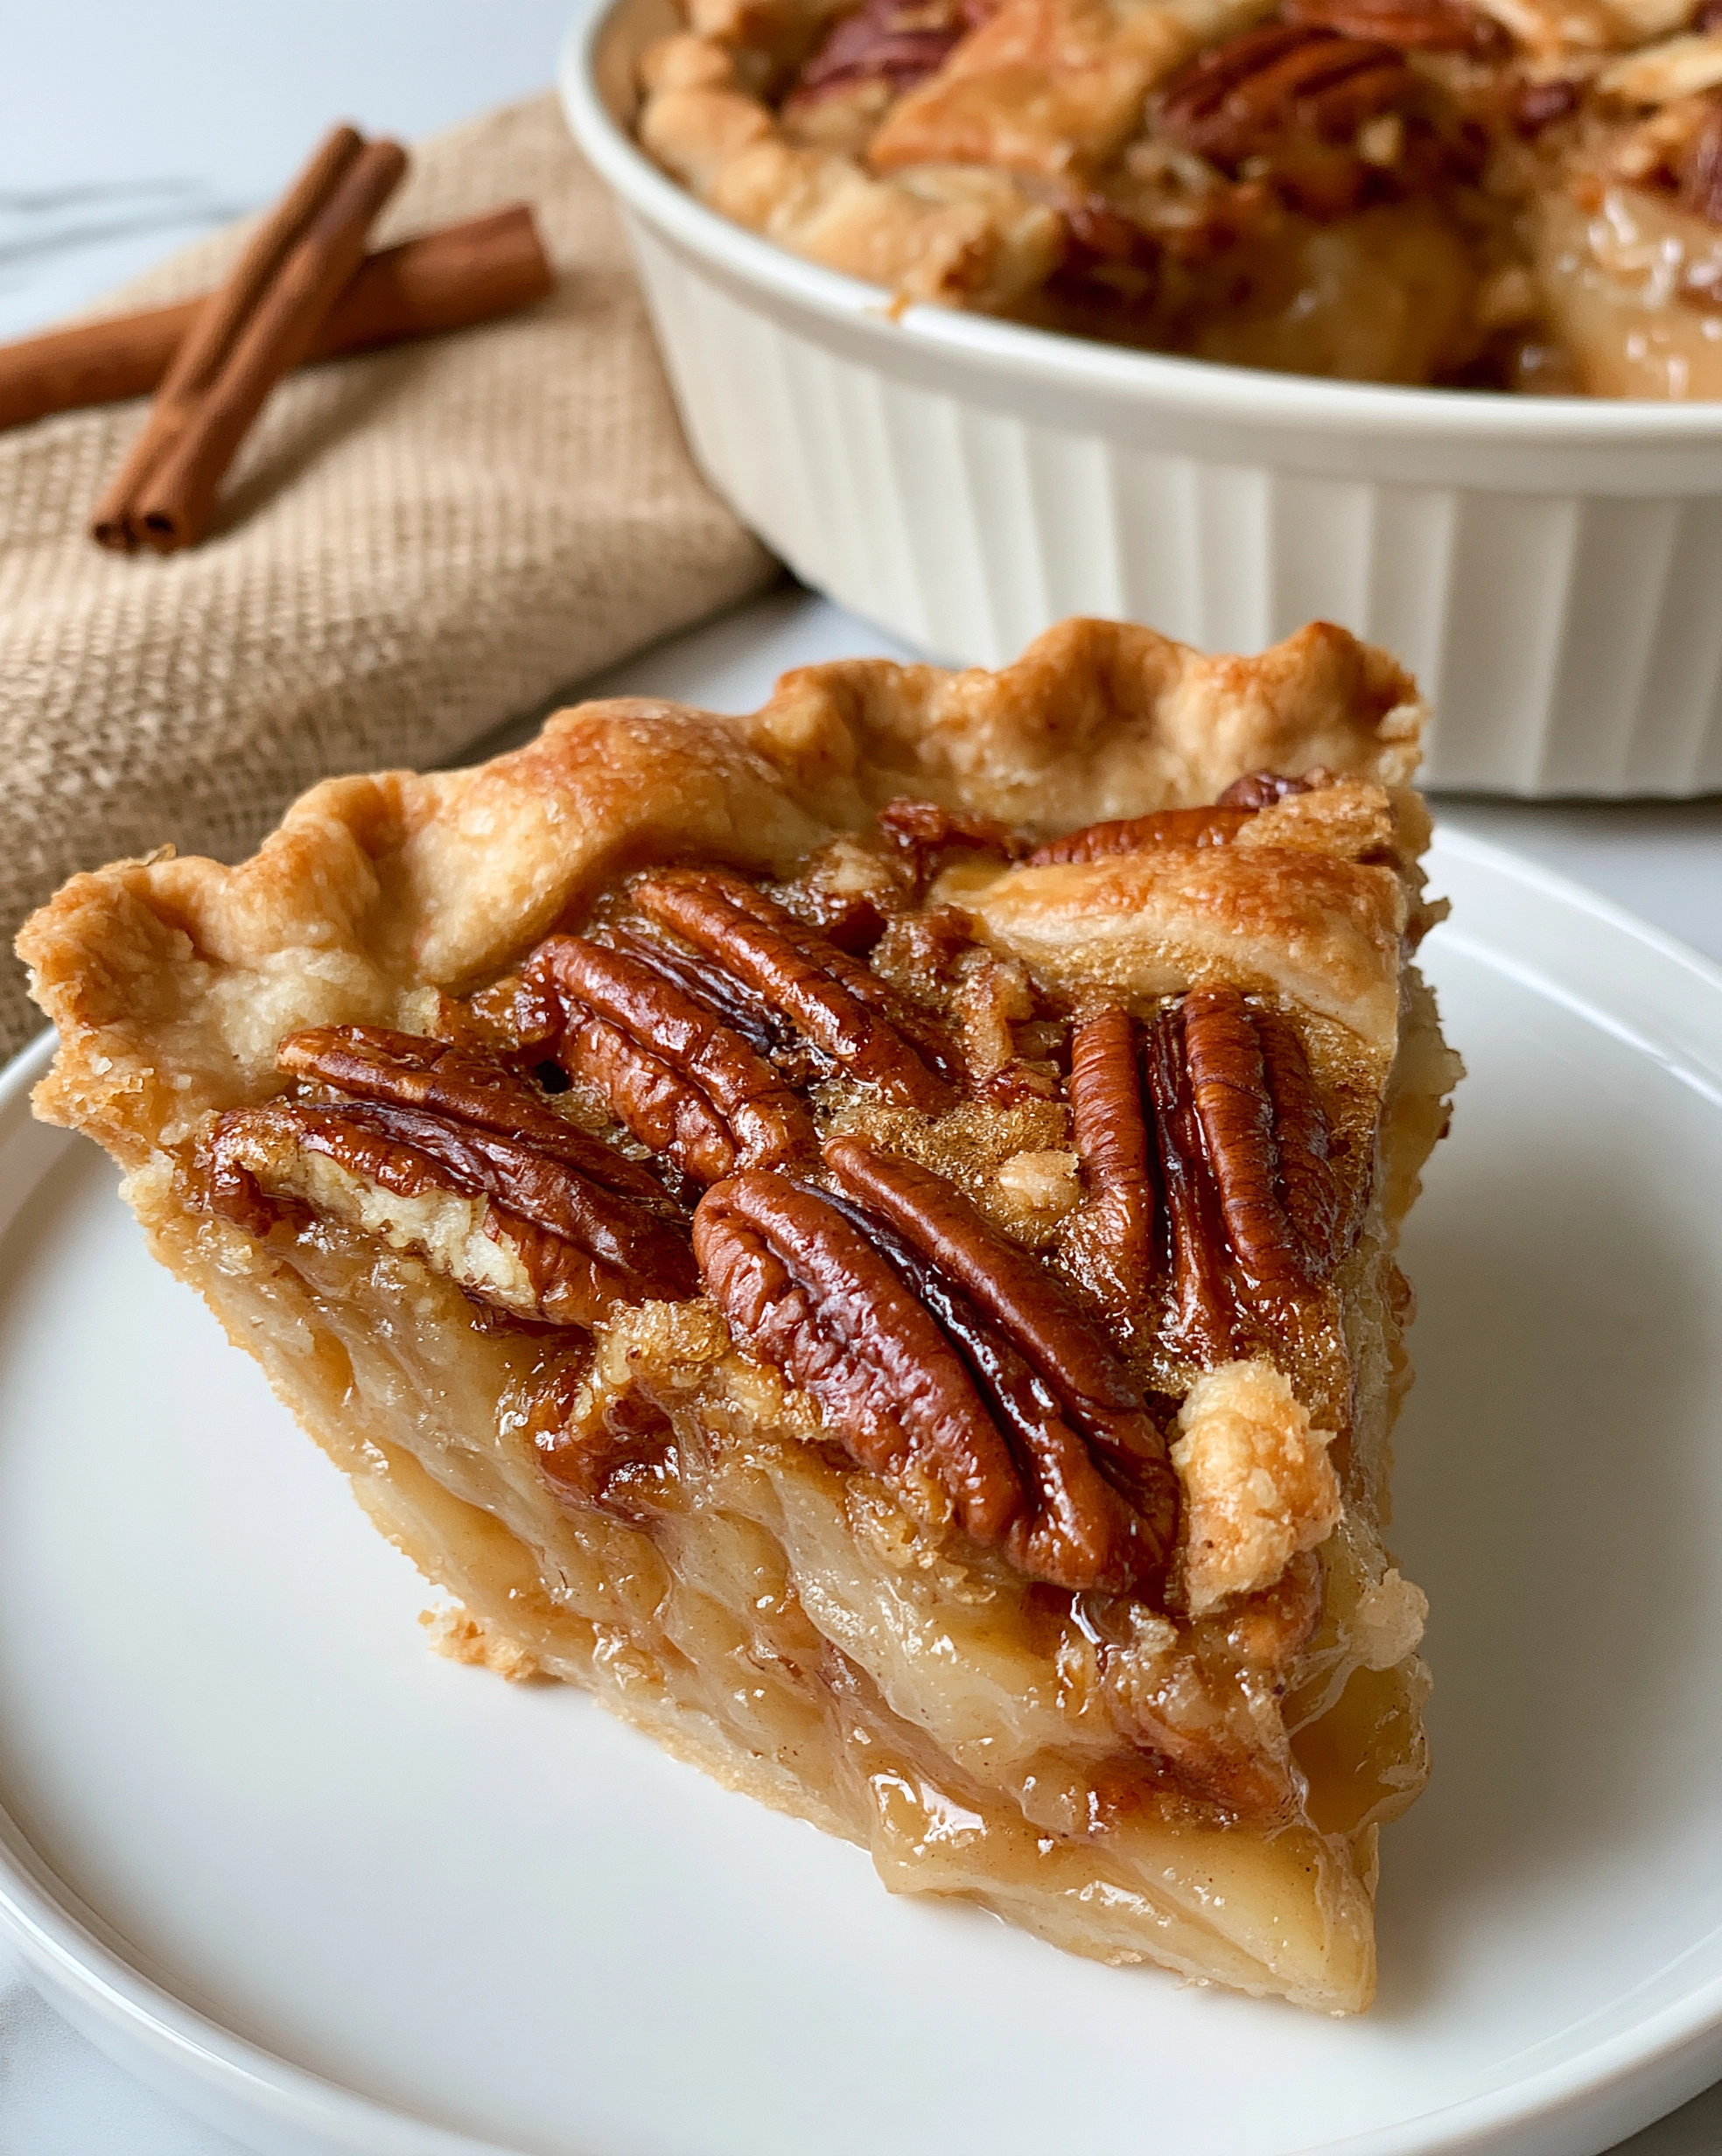
If a store-bought crust has ever let you down — pale, tough, shrinking down the sides of the pan — this easy pie crust recipe is about to change your baking life. It makes a crust that shatters into golden, buttery flakes, crimps beautifully by hand, and holds its shape in the oven. Look at the photo: that deep-golden, rustic-edged crust holding the pecan pie slice? That is exactly what this dough does.
Here is the secret nobody puts in big letters: pie crust is not about a fancy ingredient. It is about temperature and restraint. Ice-cold butter, ice water, and a light hand — that is the whole trick. The little pieces of cold butter melt in the hot oven and puff the dough into layers, and the less you handle it, the more tender it stays. Five ingredients, about 20 minutes of hands-on work, and one honest hour of chilling. Let me walk you through it.
Why This Is the Only Pie Crust You Will Ever Need
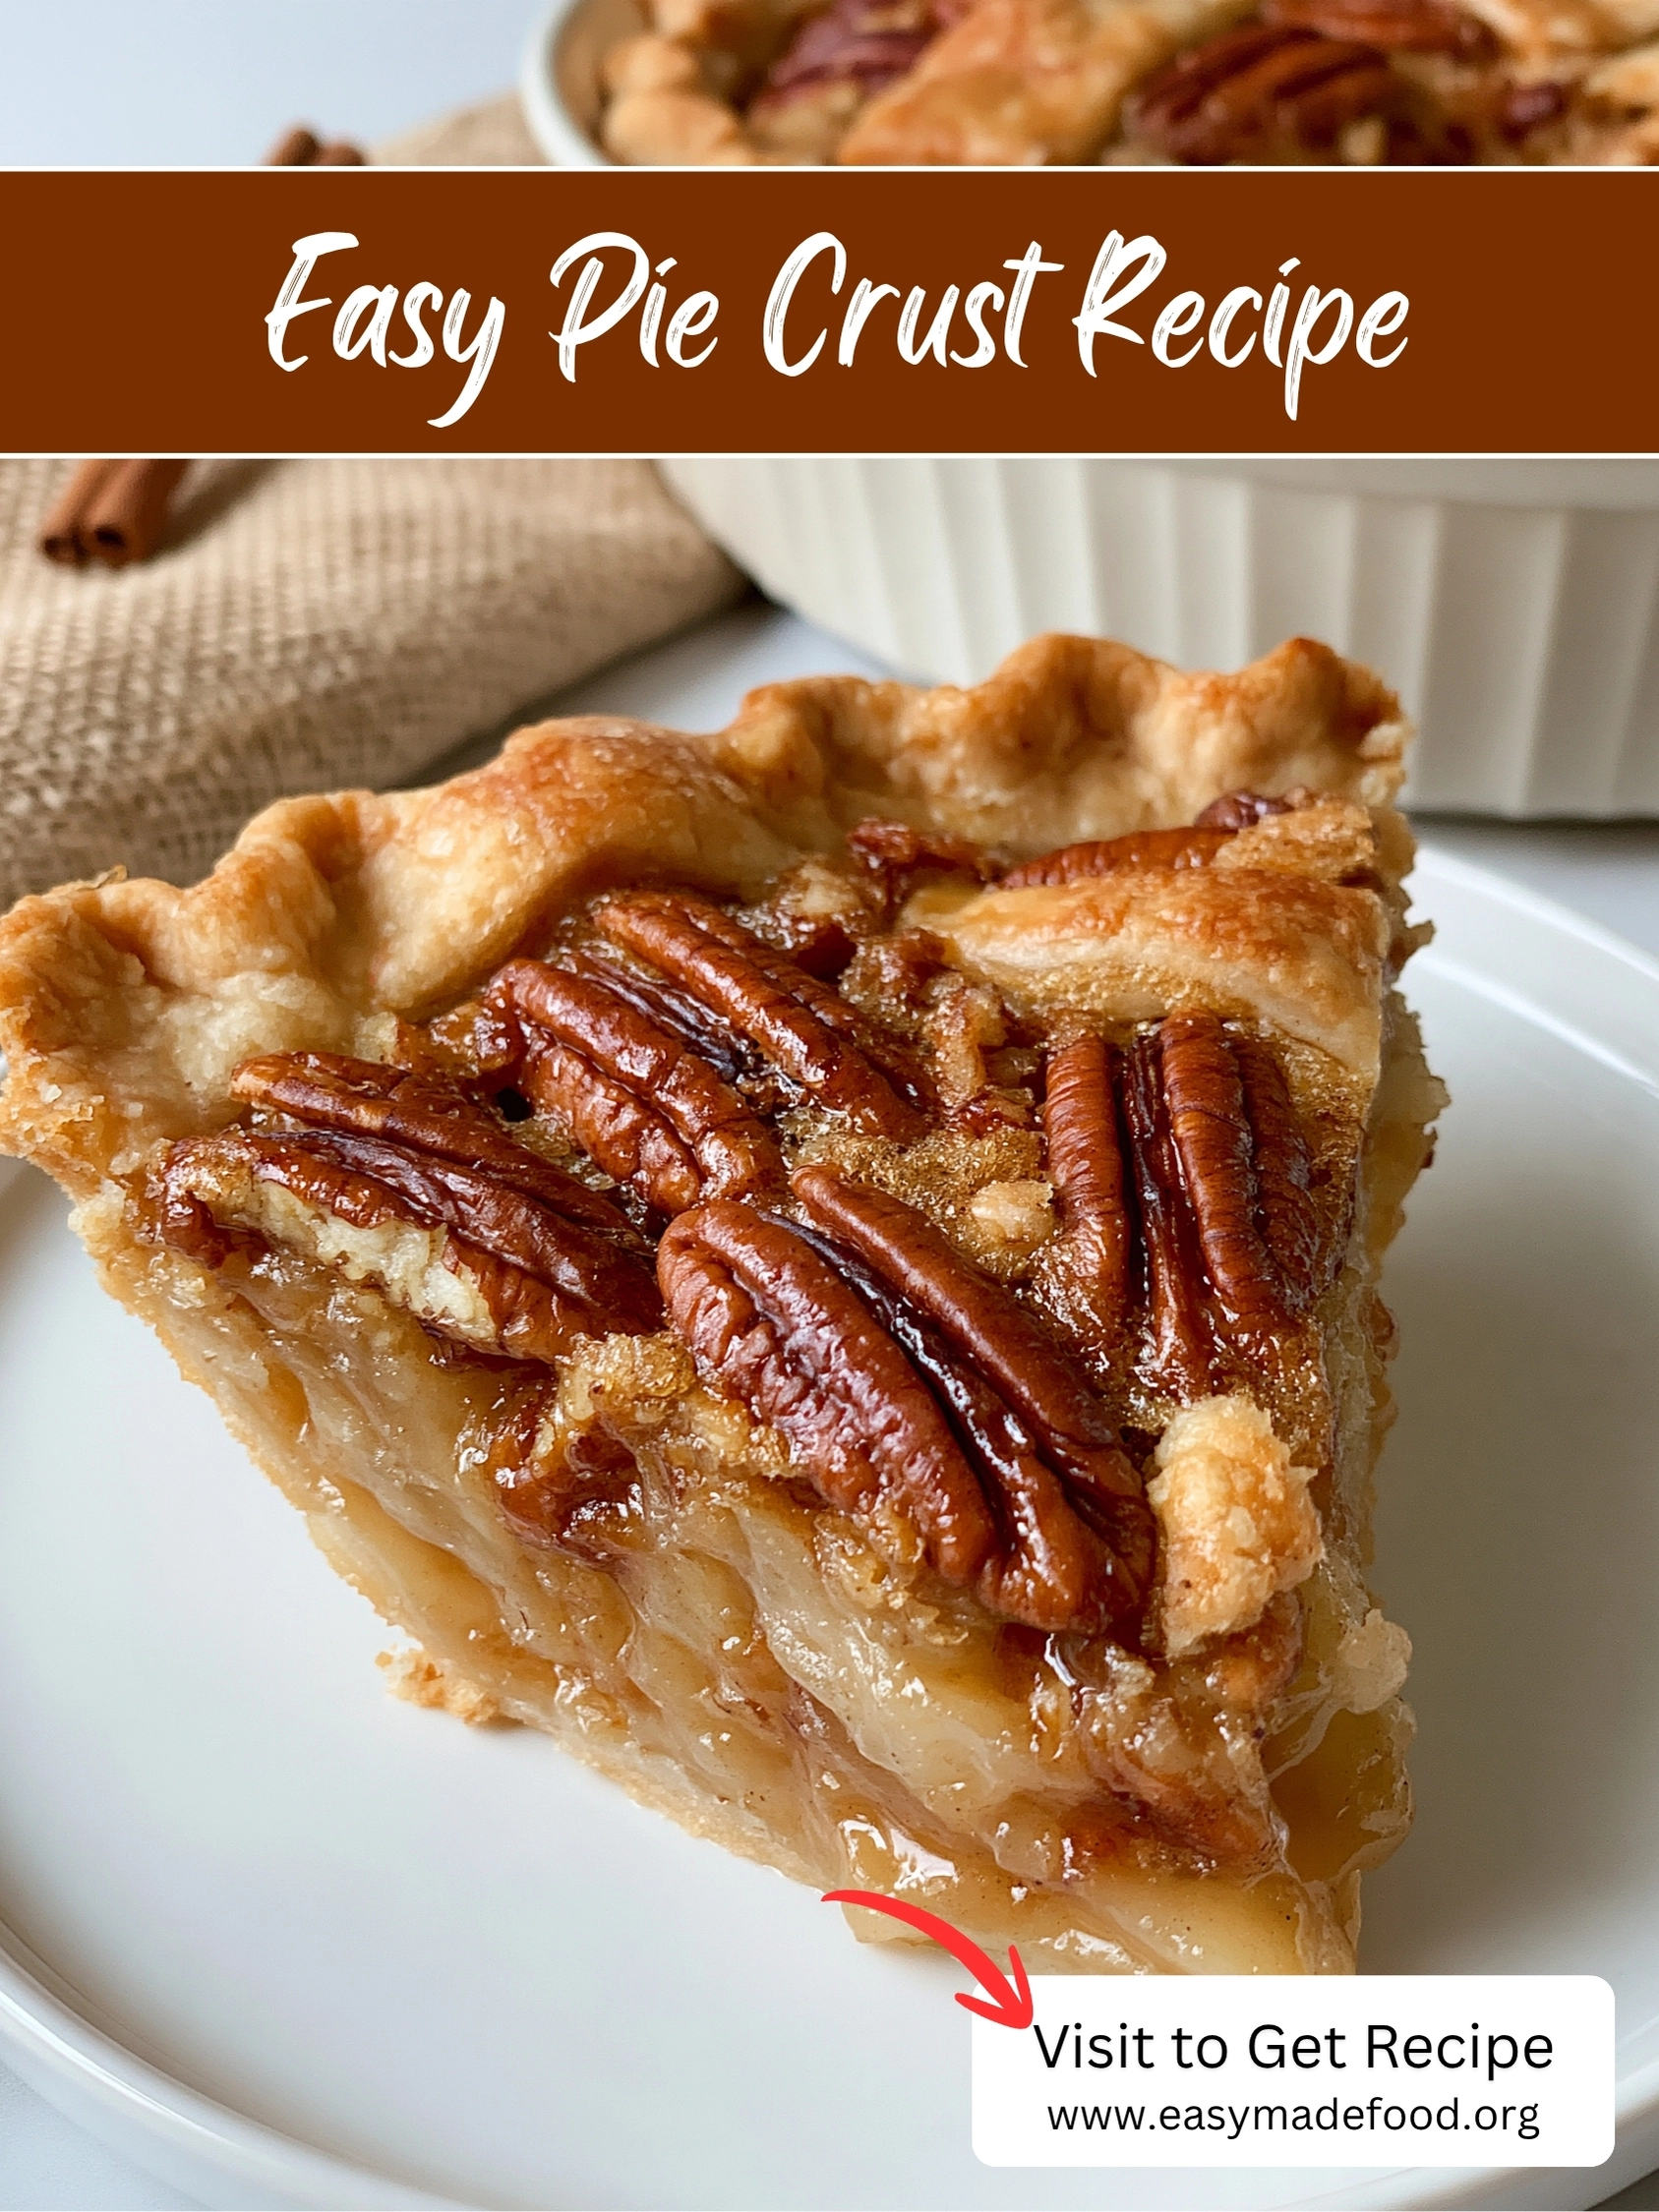
- Truly flaky, every time — visible pieces of cold butter bake into real layers that shatter when you cut a slice, just like the crust in the photo.
- Only 5 simple ingredients — flour, butter, salt, a little sugar, ice water. Nothing strange, nothing to hunt down.
- No special equipment — a bowl, a fork or pastry cutter, and a rolling pin. A food processor works too (see the variations), but your hands are enough.
- Works for every pie — sweet or savory, filled and baked, or blind-baked first for cream pies. One dough, endless pies.
- Make-ahead friendly — the dough keeps for days in the fridge and up to 3 months in the freezer, so a homemade pie is never far away.
The Ingredients (Short List — Cold Is the Whole Point)
- 1 1/4 cups (160 g) all-purpose flour, spooned and leveled, plus a little more for rolling — spooning flour into the cup instead of scooping keeps the crust tender, not heavy.
- 1/2 teaspoon fine salt — plain table salt dissolves best. Do not skip it; unsalted crust tastes flat, even under a sweet filling.
- 1 teaspoon granulated sugar (optional) — a tiny amount helps the crust brown and adds gentle flavor to sweet pies. Leave it out for savory pies like quiche or pot pie.
- 1/2 cup (113 g / 1 stick) unsalted butter, very cold, cut into 1/2-inch cubes — this is the star. It must be cold from the fridge or even briefly frozen. The visible pieces of butter ARE the flakes — if the butter melts into the flour, the crust turns tough instead.
- 3 to 5 tablespoons ice water — water with actual ice cubes in it. You add it a spoonful at a time; the exact amount changes with your flour and the weather, so the dough tells you when to stop.
- 1 teaspoon apple cider vinegar or lemon juice, stirred into the ice water (optional but smart) — a classic baker’s trick. A little acid makes it harder for tough gluten to form, so the crust stays tender. You will not taste it at all.
How to Make It: Cold Butter, Light Hands, Big Flakes
- Chill everything first. Cut the butter into 1/2-inch cubes and put it back in the fridge — or the freezer for 10 to 15 minutes — while you measure the other ingredients. Fill a small bowl or measuring cup with water and ice cubes and set it aside. On a hot day, chill the flour and mixing bowl too. Cold is not a detail here; it is the recipe.
- Mix the dry ingredients. In a large bowl, whisk together the flour, salt, and sugar (if using) until evenly combined, about 10 seconds.
- Cut in the butter. Add the cold butter cubes and toss them through the flour so every piece is coated. Using a pastry cutter, two knives, or your fingertips, work the butter into the flour until the mixture looks like coarse crumbs with butter pieces about the size of peas — plus a few larger, flat shards. Flattening some cubes between your fingers into thin flakes is what creates those shattering layers in the photo. Work quickly so your hands do not warm the butter. You should still SEE plenty of butter pieces — that is correct, not a mistake.
- Add the ice water, one spoon at a time. Stir the vinegar (if using) into the ice water. Drizzle in 3 tablespoons of ice water and toss gently with a fork. Add more water, 1 tablespoon at a time, tossing after each, just until the dough is shaggy and holds together when you squeeze a handful. It should look rough and a little dry in spots — never wet, smooth, or sticky. Most days it takes 4 tablespoons. Adding too much water is the fastest route to a tough crust.
- Bring it together — gently. Tip the shaggy dough onto a clean counter. Press and fold it over itself just 3 or 4 times, like folding a letter, until it comes together into one rough mass. Stop the moment it holds. No kneading — kneading builds gluten, and gluten makes crust tough and chewy instead of tender and flaky.
- Shape, wrap, and chill. Pat the dough into a round disc about 1 inch thick (a disc rolls out far more evenly than a ball). Wrap it tightly and refrigerate for at least 1 hour, and up to 3 days. This rest is not optional: it firms the butter back up and lets the flour absorb the water, which is why the crust will not shrink or slump in the oven.
- Roll it out. On a lightly floured surface, unwrap the chilled disc and let it sit for 5 minutes so it is cold but not rock-hard. Roll from the center outward, turning the dough a quarter turn every few rolls to keep it round and stop it sticking. Roll to a 12-inch circle, about 1/8 inch thick — big enough to fill a 9-inch pie plate with a little overhang.
- Fit it into the pan — without stretching. Roll the dough loosely around your rolling pin and unroll it over a 9-inch pie plate, or fold it in quarters and unfold it in the plate. Ease it gently into the corners with your fingers, letting it settle in. Never pull or stretch the dough to make it fit — stretched dough remembers, and it will shrink right back in the oven. Trim the overhang to about 1/2 inch, fold the edge under itself, and crimp: pinch the dough between your thumb and two fingers all the way around to make that rustic fluted edge you see in the photo. Imperfect is good here — a homemade crimp is supposed to look handmade.
- Chill the shaped crust. Put the whole pie plate back in the fridge for 30 minutes (or the freezer for 15). This second chill is the insurance policy: a cold, relaxed crust keeps its crimp and does not shrink or slump while baking.
- Bake it — two ways. For a filled pie (like the pecan pie in the photo), fill the chilled crust and bake exactly as your filling recipe directs. For a blind-baked shell (for cream pies and no-bake fillings): heat the oven to 425°F (220°C). Prick the bottom of the crust all over with a fork, line it with parchment paper, and fill with pie weights or dried beans right up to the rim. Bake 15 minutes, until the edges look set and lightly golden. Carefully lift out the parchment and weights. For a par-baked crust (fillings that go back in the oven, like pumpkin or quiche), bake 5 to 7 minutes more. For a fully baked shell, bake 15 to 20 minutes more at 375°F (190°C), until the bottom is deep golden and looks dry. Cool completely before filling.
Sofia’s Expert Tips (Flaky Crust Is a Technique, Not Luck)
- Cold, cold, cold — then cold again. Butter, water, bowl, even the flour on a warm day. If the dough ever feels soft, greasy, or sticky while you work, stop and chill it for 15 minutes. Warm dough is the number one cause of tough, shrunken crusts.
- Leave the butter in pieces. Pea-size pieces give a tender, mealy crumb; a few larger, flat shards give big flakes. What you do NOT want is butter worked in so finely that it disappears — that is cookie dough, and it bakes up hard.
- Water is a range, not a measurement. Add it one spoonful at a time and stop the second the dough holds when squeezed. A shaggy, slightly rough dough is perfect. A smooth, wet dough will fight you at every step and bake up tough.
- Never stretch the dough. Ease it into the pan and let it fall into place. Stretched dough shrinks in the oven the way a rubber band snaps back — this is the real reason most crusts shrink, not the recipe.
- Rest twice, on purpose. One hour for the disc, 30 minutes for the shaped crust. Chilling relaxes the gluten and re-firms the butter, so the crimp you made is the crimp you keep.
- Roll from the center out. Short strokes from the middle toward the edges, with a quarter turn between rolls, keep the thickness even — no thick middle, no torn edges. Flour lightly underneath rather than on top, so you do not work extra flour into the dough.
Easy Variations Worth Mastering
- Double crust (for apple pie and other topped pies): double everything — 2 1/2 cups (320 g) flour, 1 teaspoon salt, 2 teaspoons sugar, 1 cup (226 g / 2 sticks) cold butter, 6 to 10 tablespoons ice water. Divide the dough into two discs, one slightly larger for the bottom crust, and chill both.
- Food processor method: pulse the flour, salt, and sugar to combine. Add the cold butter cubes and pulse 8 to 10 times, until pea-size pieces form. Drizzle in the ice water and pulse just until the dough looks shaggy and starts to clump — then stop and finish by hand. The machine is fast, which is exactly its danger: three extra pulses can overwork the dough, so check early and often.
- Half butter, half shortening: replace half the butter (1/4 cup / 57 g) with the same amount of cold vegetable shortening. Shortening makes the dough easier to roll and helps the crimp hold sharp edges, while the butter still brings the flavor. A good training-wheels version while you build confidence.
- Savory crust (quiche, pot pie, tomato pie): leave out the sugar and add 1/2 teaspoon black pepper or 1 tablespoon finely chopped fresh herbs (thyme, rosemary, or chives) to the flour. Same method, same chill times.
How to Store and Freeze Pie Dough
- Fridge — dough discs: wrapped tightly, the dough keeps well for up to 3 days. Let it sit on the counter for 5 to 10 minutes before rolling, just until it gives slightly when pressed.
- Freezer — dough discs: wrap the disc in plastic, then in foil or a freezer bag, and freeze for up to 3 months. Thaw overnight in the fridge before rolling.
- Freezer — shaped crust: fit the dough into a metal pie plate, crimp, wrap the whole thing well, and freeze for up to 3 months. It can go straight from the freezer to the oven — just add a few extra minutes if blind baking. A pie that starts frozen actually shrinks less.
- Baked empty shell: a fully blind-baked shell keeps, covered, at room temperature for up to 2 days or in the fridge for up to 4 days. Crisp it in a 350°F (175°C) oven for 5 minutes before filling if it has sat overnight.
Frequently Asked Questions
Shrinking almost always means the dough was stretched when you fitted it into the pan, or it went into the oven warm and unrested. Ease the dough in without pulling, trim and crimp, then chill the shaped crust for a full 30 minutes before baking. Cold, relaxed dough stays where you put it.
Three usual causes: too much water, too much handling, or butter that melted into the flour before baking. Add water one spoonful at a time, fold the dough only a few times, keep everything cold, and leave visible pea-size pieces of butter. Those butter pieces are what become flakes — no pieces, no flakes.
Blind bake when the filling is very wet (custard and fruit pies that tend to leak), when the filling does not bake at all (cream pies), or when the filling bakes for less time than the crust needs. Use weights so the bottom stays flat, and bake until the bottom looks dry and golden, not pale. Two more soggy-bottom guards: bake the pie on the lowest oven rack, and put the pie plate on a preheated baking sheet so the bottom crust gets a blast of heat from below.
Yes — your fingers work beautifully, and they are the oldest tool for this job. Flatten each butter cube between your thumb and fingertips into a thin shard, tossing it back through the flour as you go. Work quickly and chill the mixture for 10 minutes halfway through if your kitchen is warm. A pair of dinner knives used in a criss-cross cutting motion also works.
Both work. For salted butter, cut the added salt down to 1/4 teaspoon. All-shortening crust (1/2 cup / about 95 g shortening in place of the butter) is very tender, holds a crimp beautifully, and is naturally dairy-free — but it will not have butter’s rich flavor, which is why my favorite is the half-and-half version in the variations. Whichever fat you choose, the rules stay the same: keep it cold, leave pieces, handle it little.
Easy Pie Crust Recipe
Course: Dessert, Baking BasicsCuisine: AmericanDifficulty: Easy1
single 9-inch pie crust (8 servings once filled)20
minutes30
minutes1
hour50
minutesA flaky, all-butter pie crust made with 5 simple ingredients and one golden rule: keep everything cold. Tender, golden and shattering into layers, with a rustic hand-crimped edge — perfect for filled pies or blind-baked shells.
Ingredients
1 1/4 cups (160 g) all-purpose flour, spooned and leveled, plus more for rolling
1/2 teaspoon fine salt
1 teaspoon granulated sugar (optional; skip for savory pies)
1/2 cup (113 g / 1 stick) unsalted butter, very cold, cut into 1/2-inch cubes
3 to 5 tablespoons ice water
1 teaspoon apple cider vinegar or lemon juice, mixed into the ice water (optional)
Directions
- Whisk the flour, salt and sugar in a large bowl. Cut in the cold butter with a pastry cutter or fingertips until pea-size pieces and a few flat shards remain.
- Drizzle in the ice water (with the vinegar, if using) 1 tablespoon at a time, tossing with a fork, just until the dough is shaggy and holds together when squeezed.
- Press and fold the dough over itself 3 to 4 times on the counter — no kneading. Shape into a 1-inch-thick disc, wrap, and chill at least 1 hour.
- Roll to a 12-inch circle on a lightly floured surface. Ease into a 9-inch pie plate without stretching. Trim to a 1/2-inch overhang, fold under, and crimp the edge.
- Chill the shaped crust 30 minutes. Fill and bake per your filling recipe — or blind bake: dock with a fork, line with parchment and weights, bake at 425°F (220°C) for 15 minutes, remove weights, and bake at 375°F (190°C) for 15 to 20 minutes more until deep golden.
Notes
- Keep everything cold — if the dough softens, chill it 15 minutes and continue. Never stretch the dough into the pan; that is what causes shrinking. The disc freezes for up to 3 months; thaw overnight in the fridge. For a double crust, double all ingredients.
Save this pie crust recipe now — once you taste a homemade crust that flakes like this, the store-bought kind will never make it into your cart again.
More recipes you’ll love: Easy Apple Pie Recipe, Easy Pecan Pie Recipe and Easy Pumpkin Pie Recipe.




One Comment